
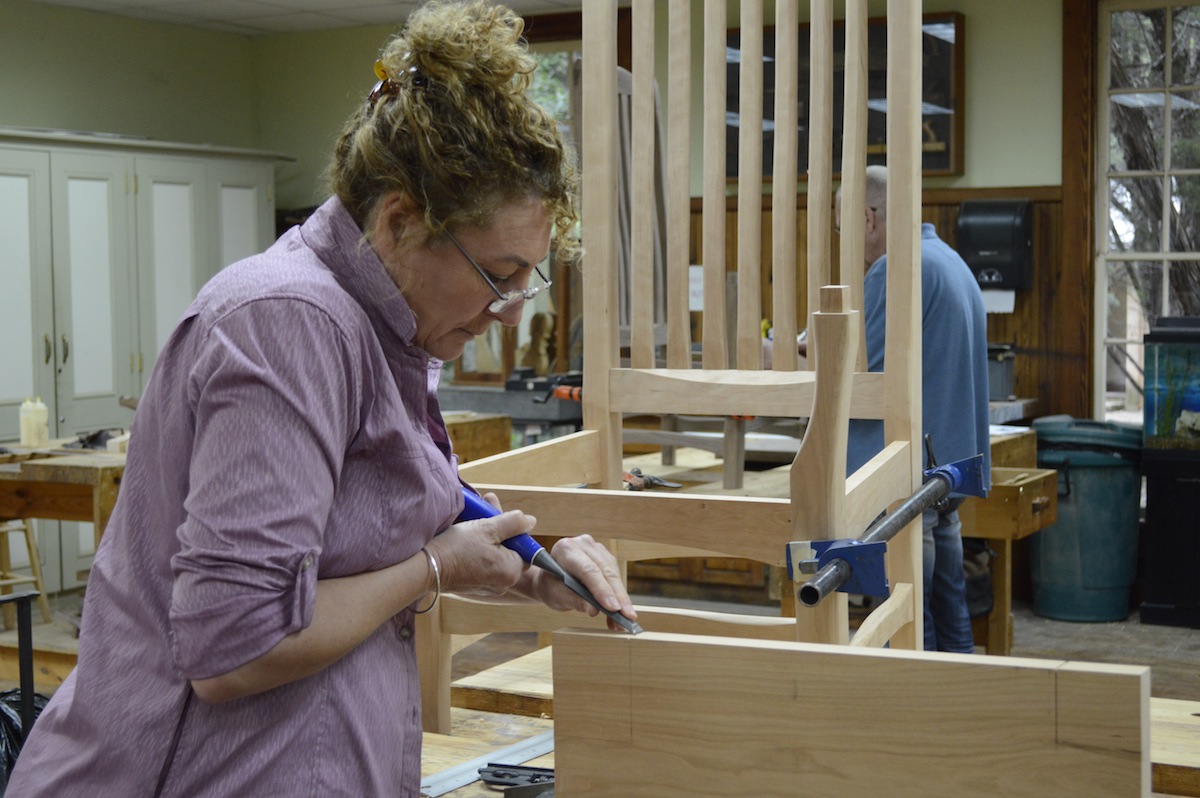
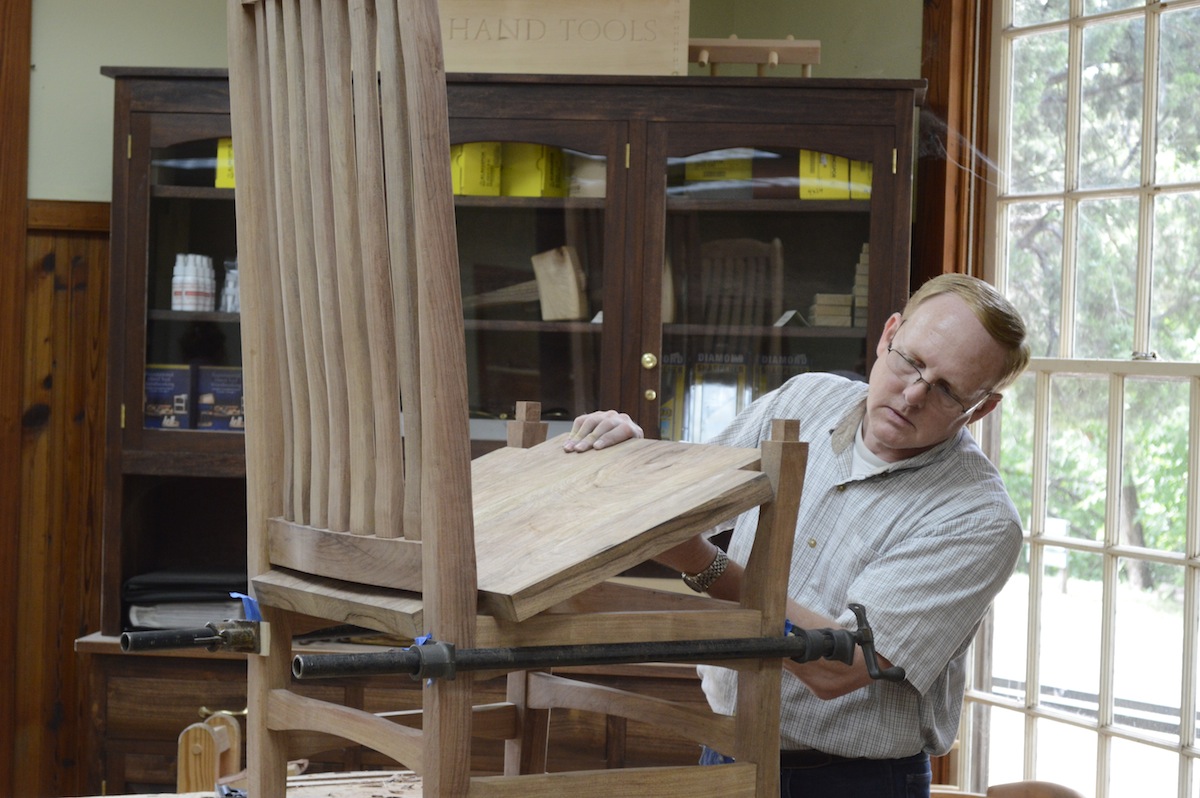
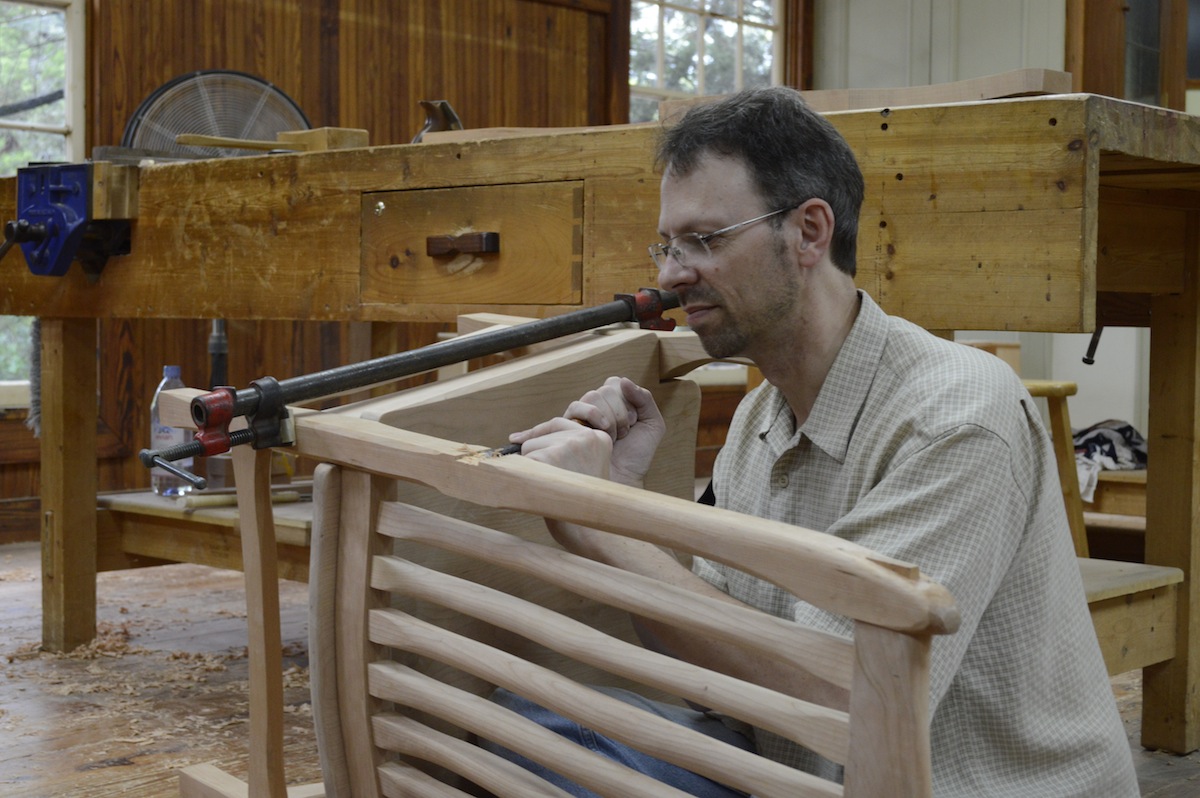
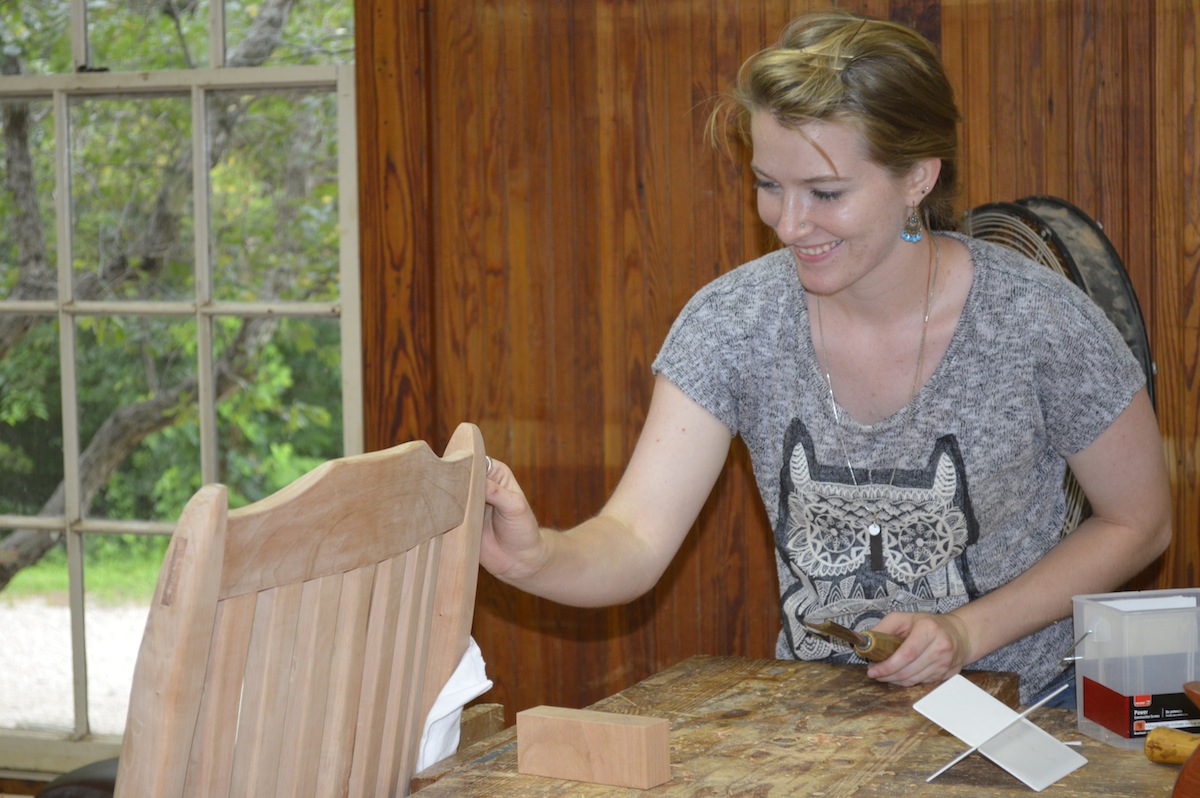
Congratulations to all those who made it through our 12 day Brazos rocking chair class. We started the class with a small pile of simple dimensional lumber and by the time we finished the class last Saturday everyone was rocking in their own chair and thoroughly enjoying their own truly hand made piece of furniture.
Among the skills learned in this class was how to properly execute ‘through’ mortise and tenon joints, as well as how to layout and cut angled tenons. Student’s worked their way through the challenging process of fitting the solid wood seat into a trapezoid frame and then carved the seat using a variety of hand tools, including a scorp, a travisher, a modified spokeshave and a thin scraper. Other challenges included fitting arms that aren’t straight, flat or parallel to anything; and cutting tenons on the bottom of the legs to fit into the curved rockers! If you’re looking for a challenge you will find it building this rocker.
Oftentimes, visitors to our shop will ask about the price of the rocking chairs (or any piece of hand-made furniture) and many times they are surprised at how much the chairs cost. We’ll usually gently suggest that they come make it themselves, and most of the time when someone does end up taking a class they understand completely why handmade furniture can sometimes seem to cost so much.
Jonathan Schwennesen
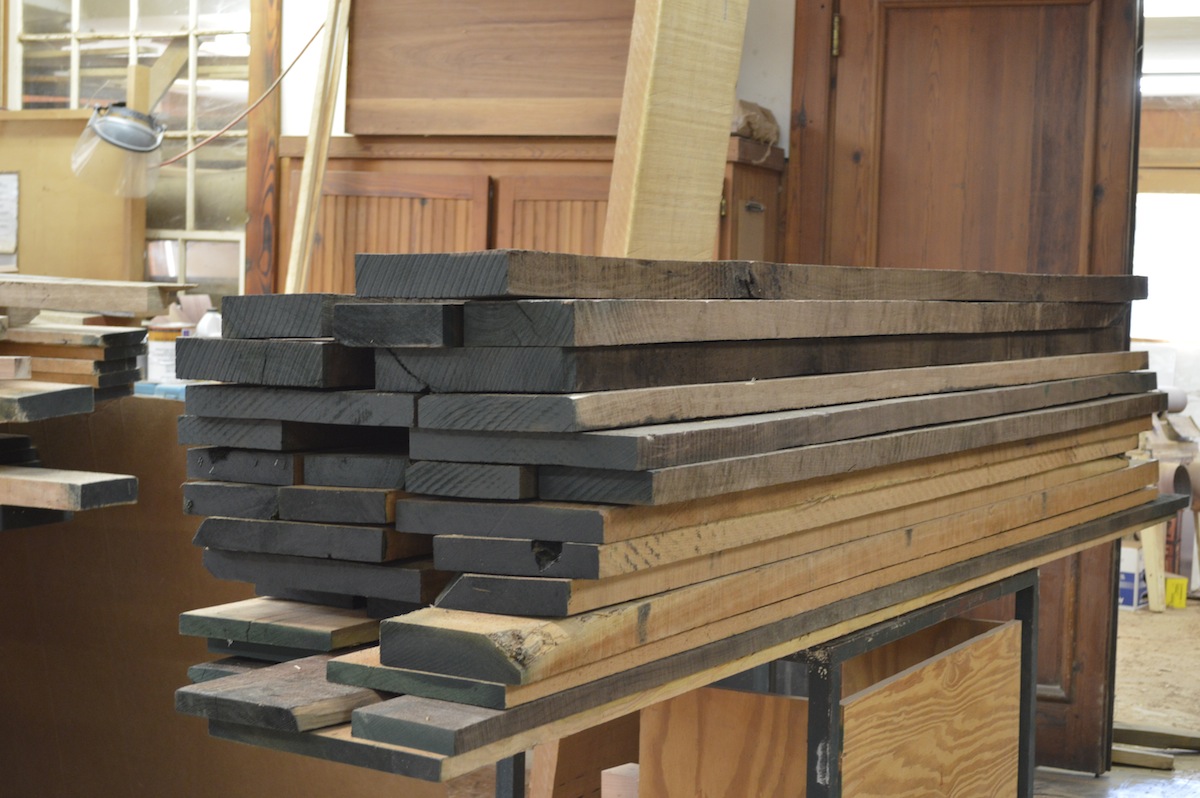
The wood for the brazos rockers, one of two carts full of wood!
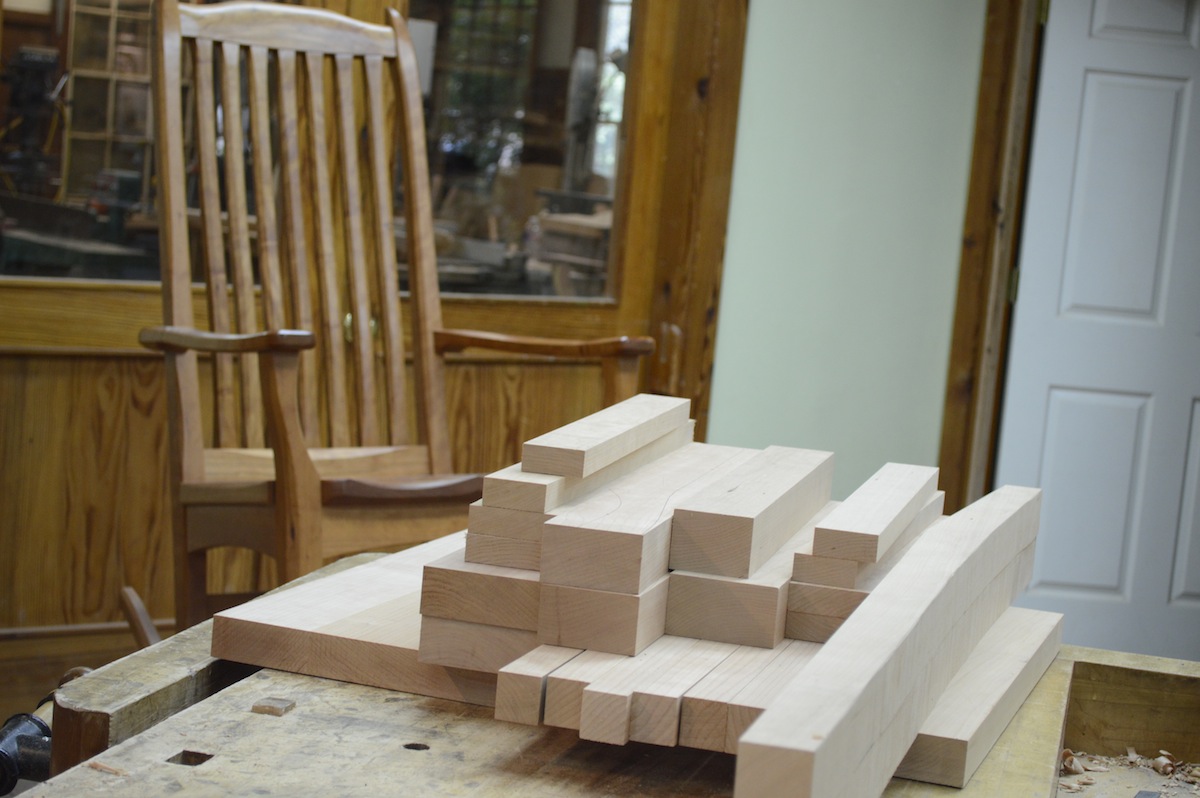
The rocking chair kit the students started the class with.

It good to see what the goal of the class is, when all around you is just shavings!
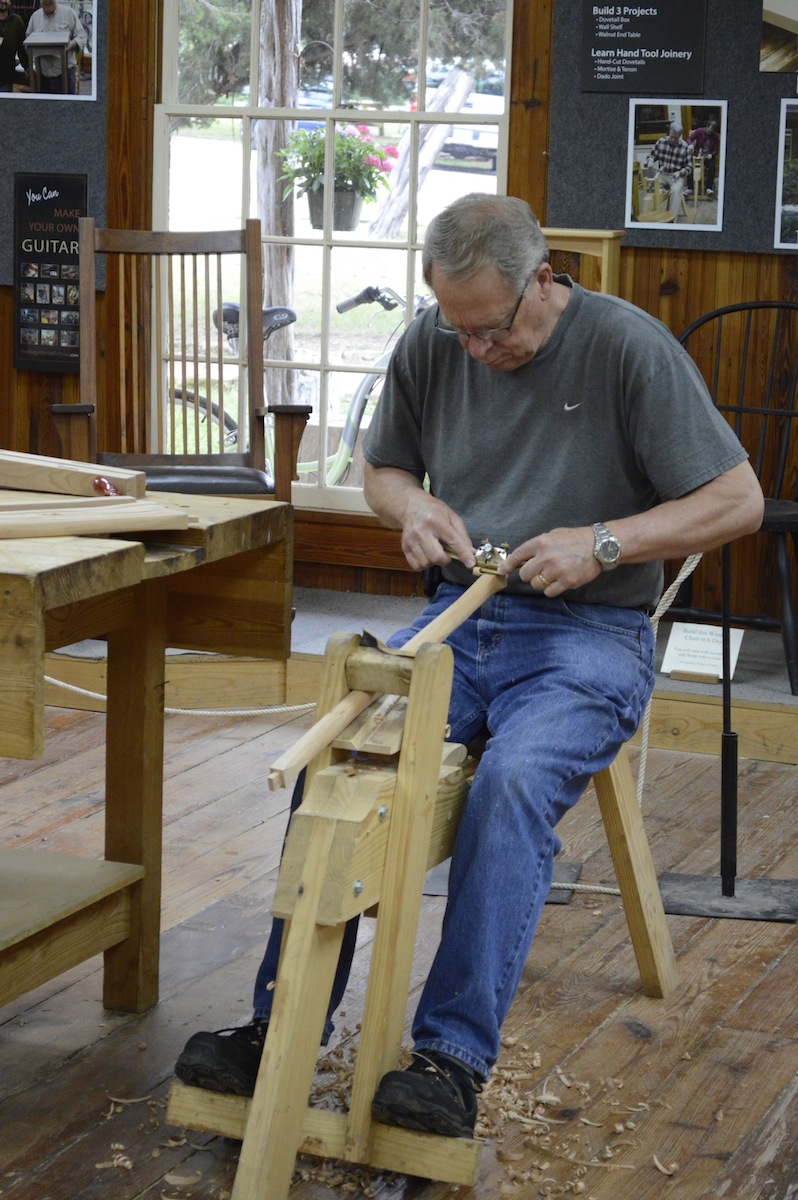
Shaping the back slats.
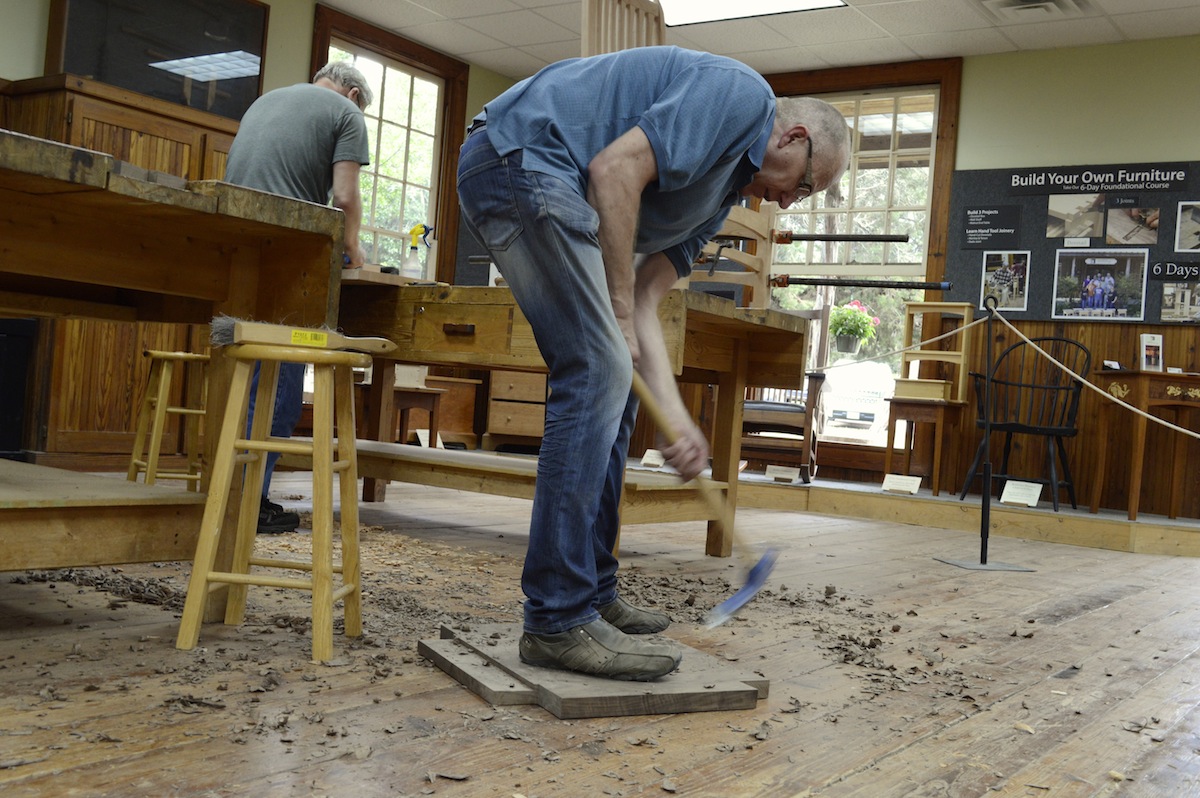
Using a gutter adze to rough carve the seat.
Cutting the seat to size.
One of the students made his chair out of Mesquite wood, it is beautiful.
Cutting the dado for the arms.
Last step! Shaping the through tenons.
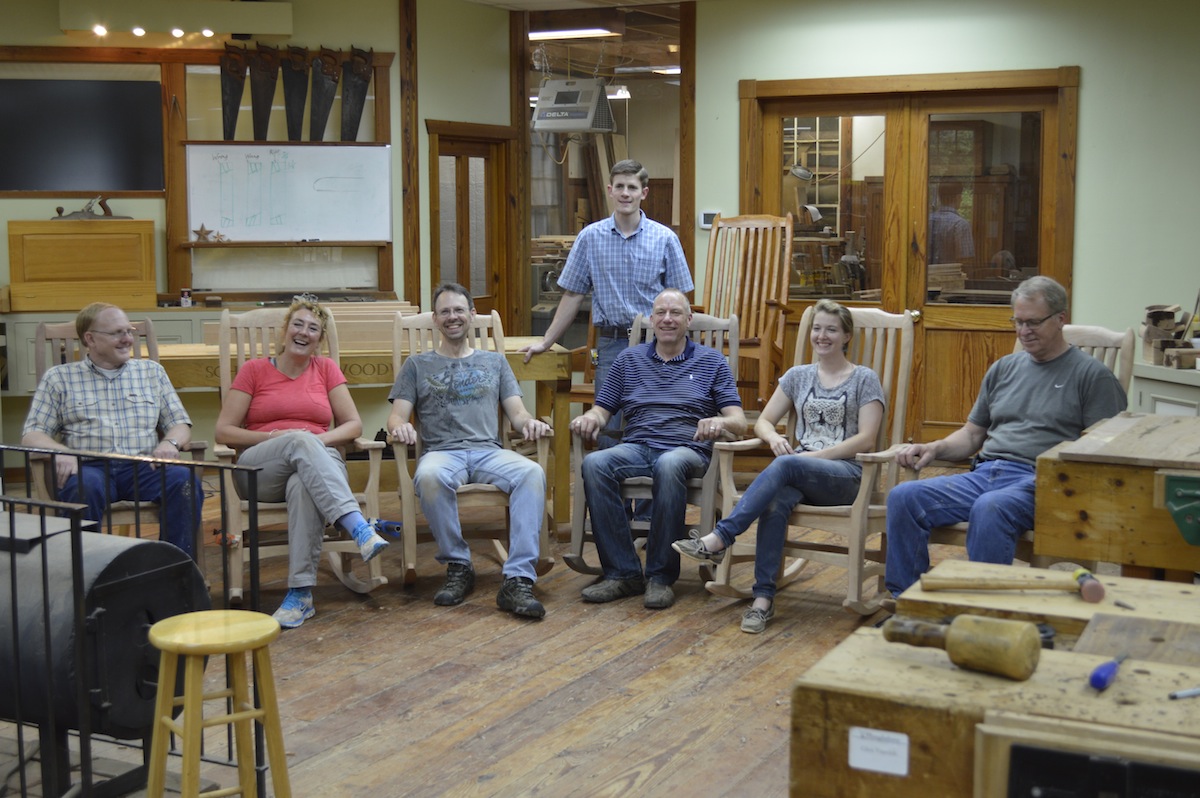
Each student rocking on their own hand-made rocking chair. Tired but very pleased!
I had an awesome time building the rocking chair and learning all the skills involved. Everyone back home here in Edmonton Alberta Canada loves the chair. This is a must do for all woodworkers. The skills you learn here will last a lifetime and expand your enjoyment of woodworking. I wish I had the patience of the teacher, Jonathan. He was great at assisting everyone to get through the challenges of this project.
This class is on my bucket list. Glad everyone enjoyed it.
I’ve taken other woodworking courses at the school and all of them have benefited me.
I took this class in 2015. It was a challenge and Jonathan was there every step of the way. I noticed in the photos that the student who made the rocker out of mesquite was also in my class. I believe, but am not sure, that my class was the fifth rocker that he had made. If true, then the mesquite rocker was his sixth and the first five he had given away. Awesome.