I wanted to update everyone on our Roubo Workbench class. We all survived if you’re wondering why it’s taken so long to hear about it. I will say that it was fairly intense for all 10 days, but the students did leave the classroom with finished benches by 5 pm on Thursday. Please remember that these benches aren’t something slapped and screwed together they are fine pieces of furniture that need to be functional as well as beautiful.
The benches were built using hard rock maple for the top and base. The end cap, sliding dead-man, leg-vise, gap-stop and bench dogs were built with walnut. Also the tail-vise and leg-vise hardware were from Benchcrafted (highly recommended). Here are a number of pictures throughout the building process. If you have any questions about the class or benches you’re welcome to email me at jbschwen@gmail.
Jonathan Schwennesen

Leveling the bottom of the tops

Gluing the base together
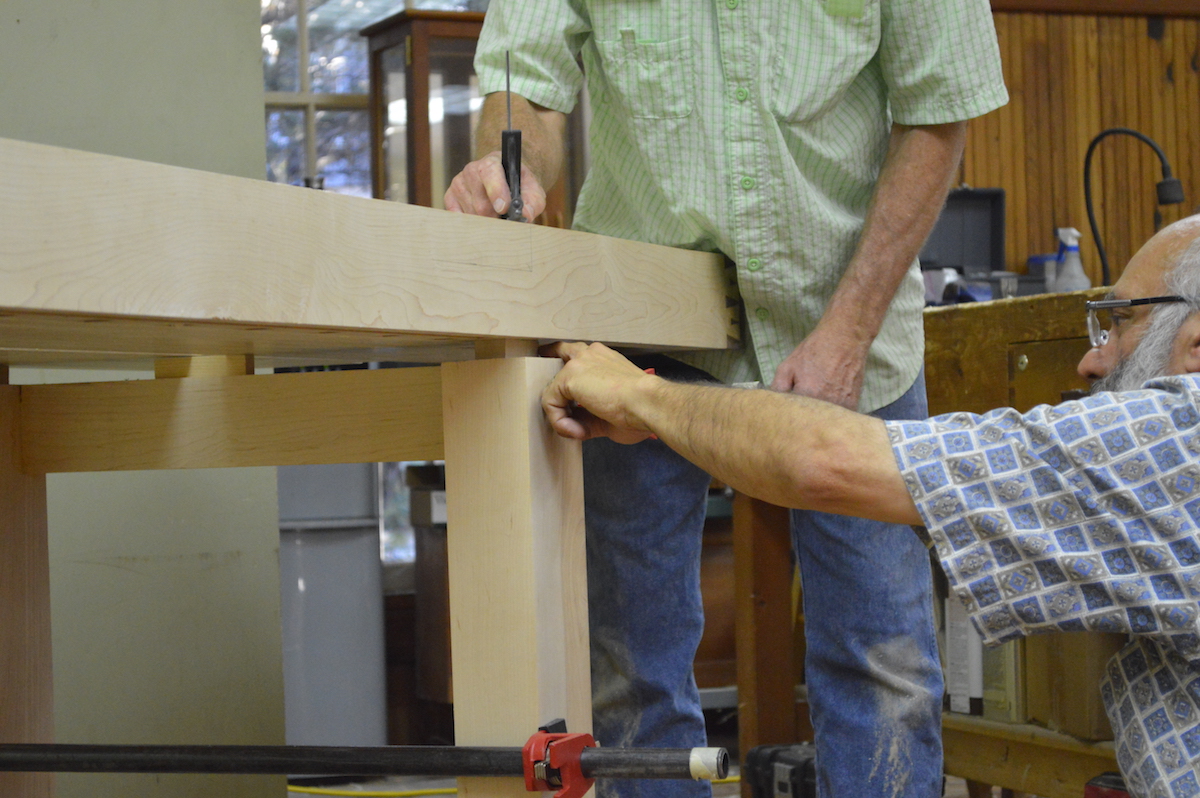
Marking for the mortises into the tops
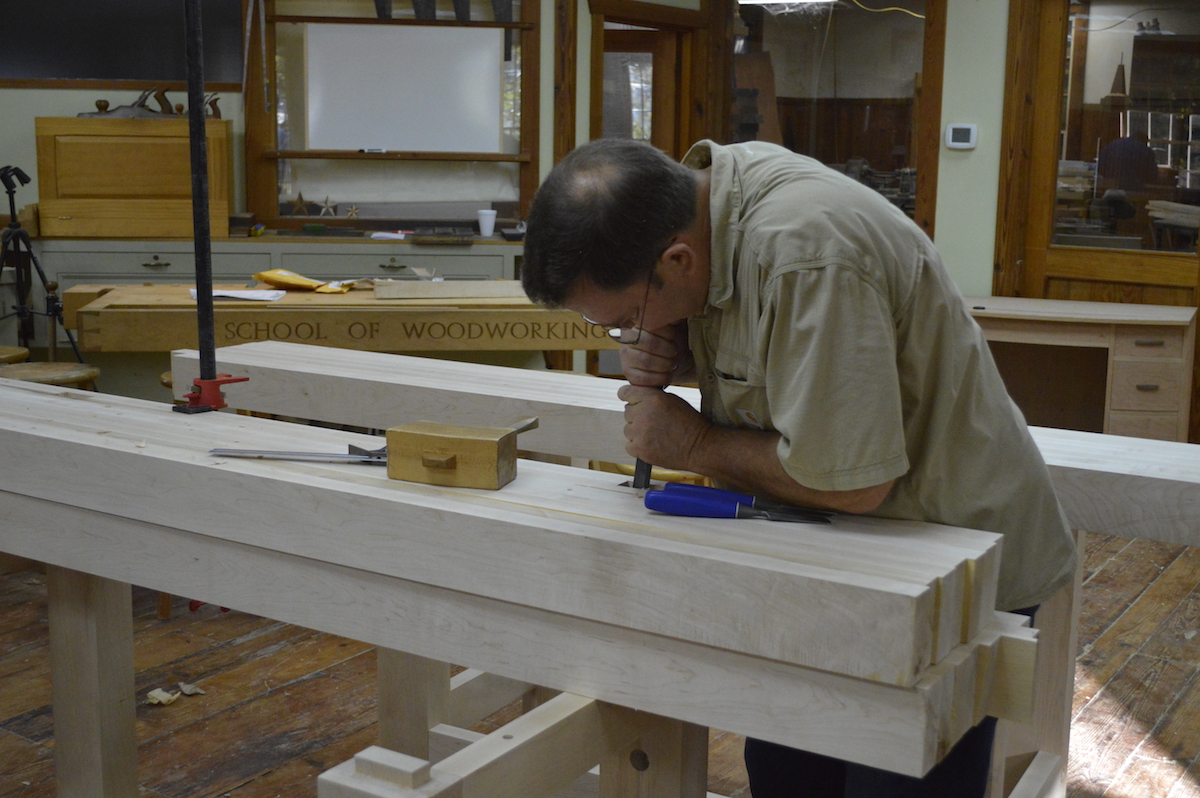
Chopping the mortise
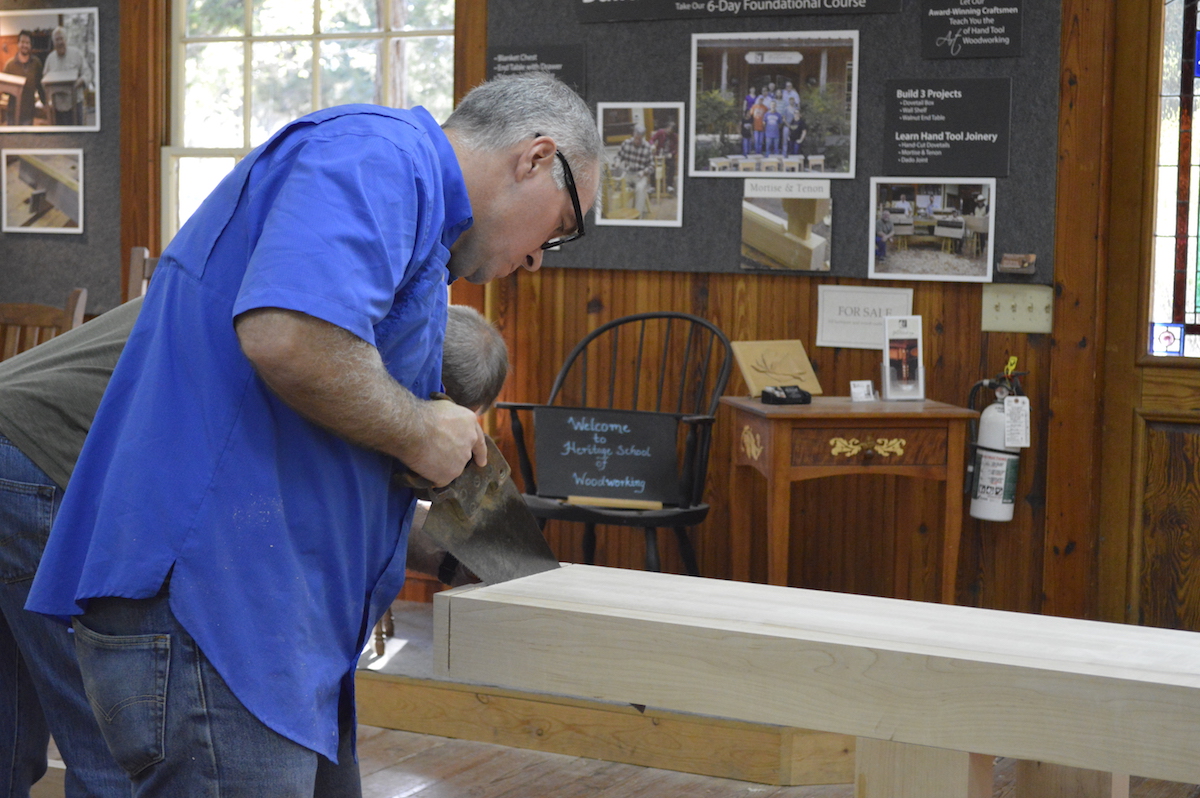
Cutting the ends of the top, (we did do most of the cut with the skil-saw)
Layout for the oak pegs
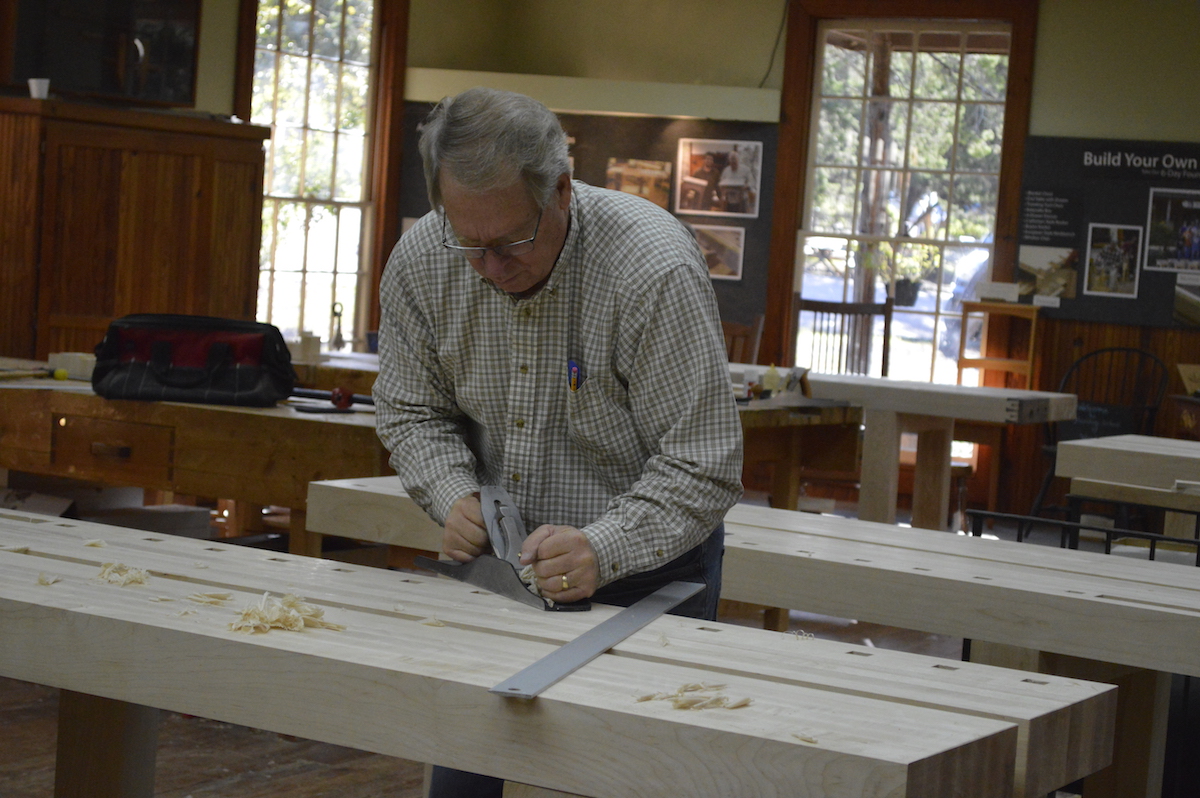
Flattening the tops
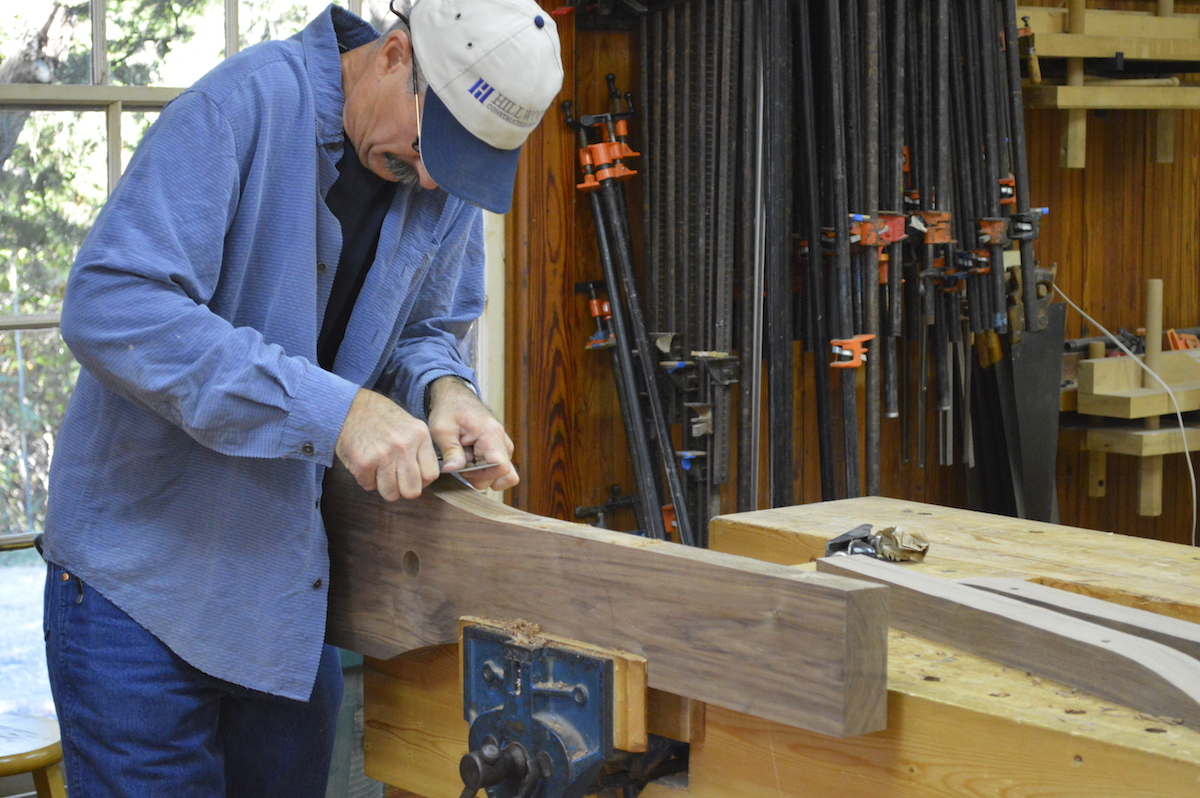
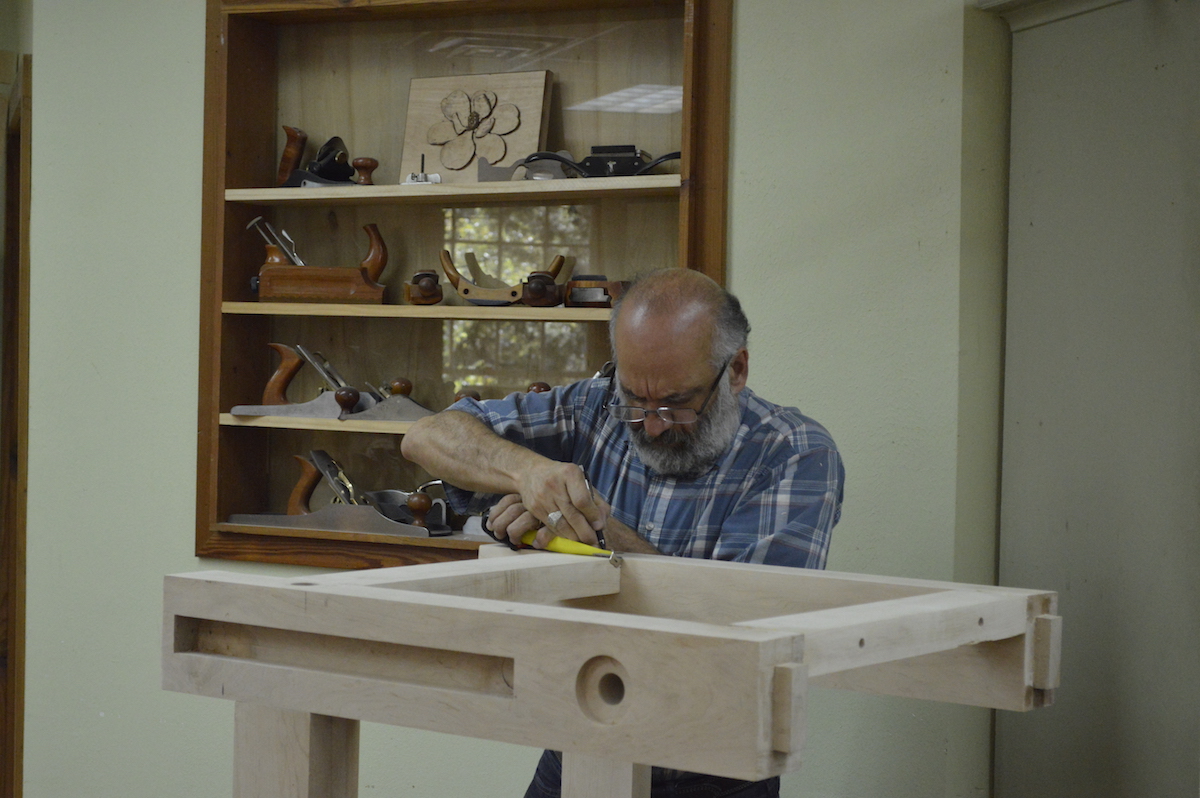
Scraping the leg-vice chop
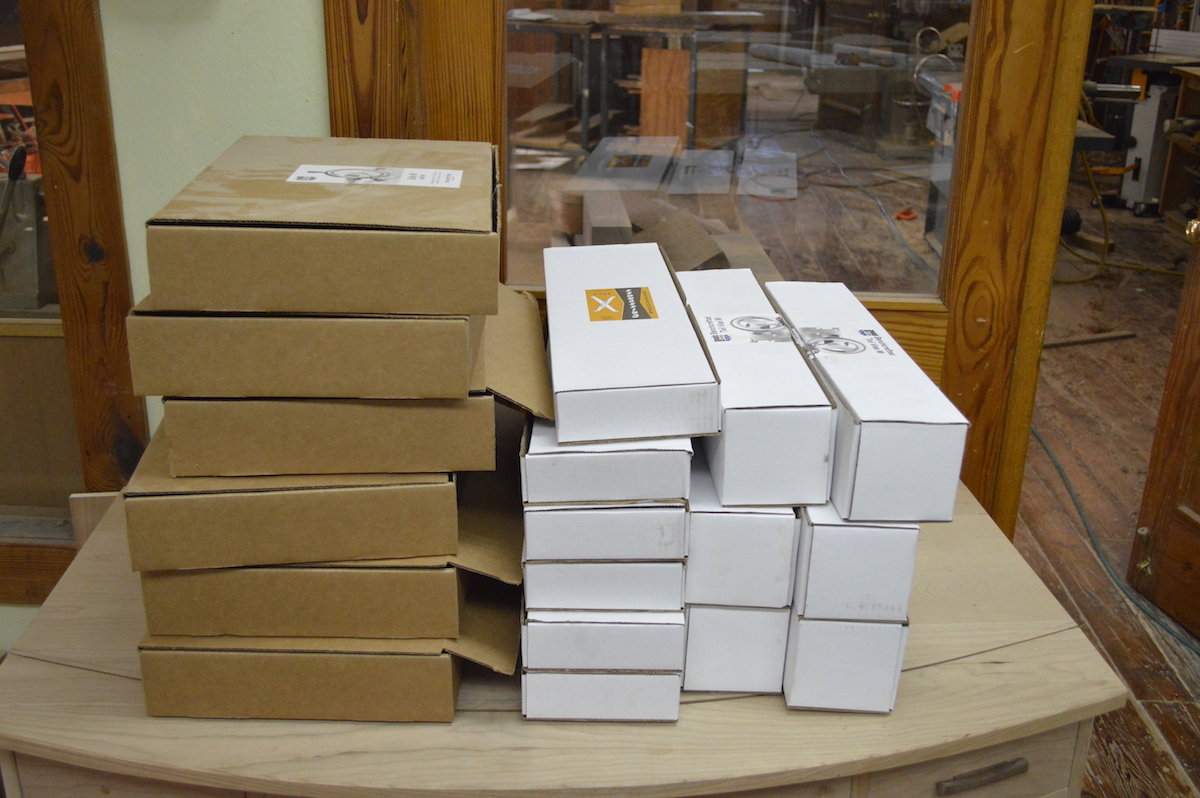
18 empty hardware boxes

Beginning of the photo shoot
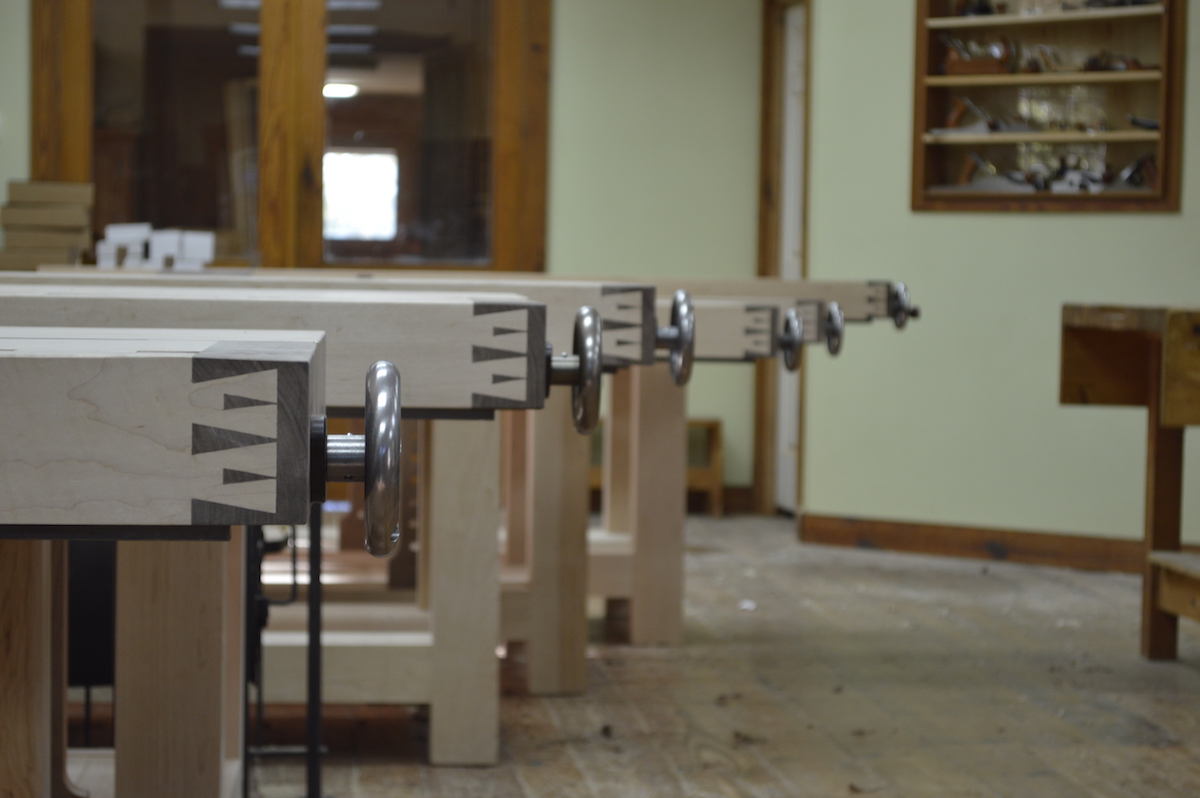
Six beautiful benches

A happy ending to a great class
Comments are closed.