Want to know what sharpening stones to use? Read our blog series How to Choose a Sharpening Stone.
The techniques that I’ll show you in sharpening a chisel are the same techniques that you’ll use in sharpening a plane, a spokeshave, and other tools. The upcoming posts will show you in-depth the different issues you’ll meet.
What is Sharp?
 The first thing I’d like to talk about is what defines sharp. “Sharp” is defined as having two highly polished surfaces coming together and meeting to infinity. If we take any one of those aspects out of the equation, then we won’t have a sharp tool. For example, if we take one surface, and we polish only one surface, and we don’t polish the other surface, then we won’t have a sharp tool. You must have both surfaces meeting to infinity and both have to be highly polished.
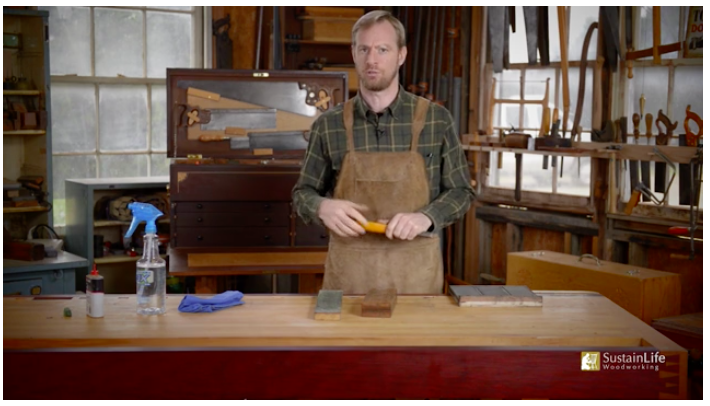
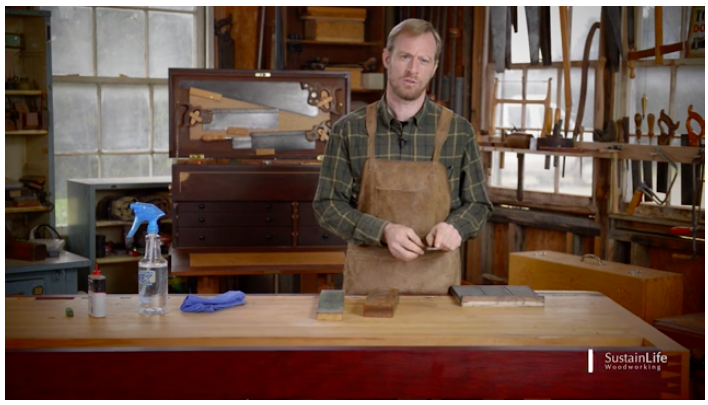
Sharpening system
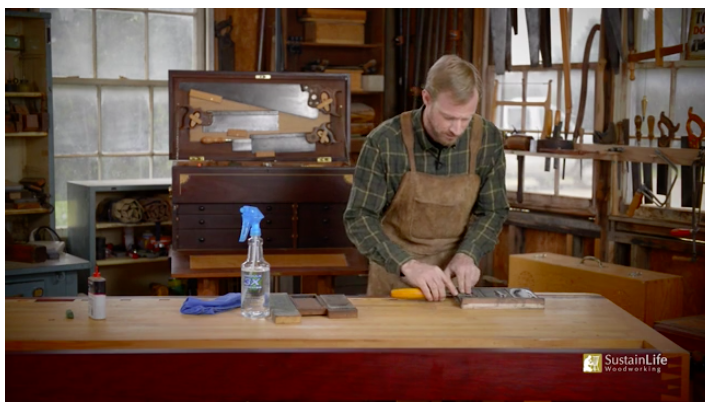
I’m going to show you the technique that I use. As I explained in an earlier post, I use a combination of diamond stones and an oil stone. I covered the pros and cons of different types of stones in the How to Choose a Sharpening Stone blog series. I go through a coarse, medium, and fine diamond stone, then go on to a hard translucent oil stone and a leather strop. Here it goes, step by step….
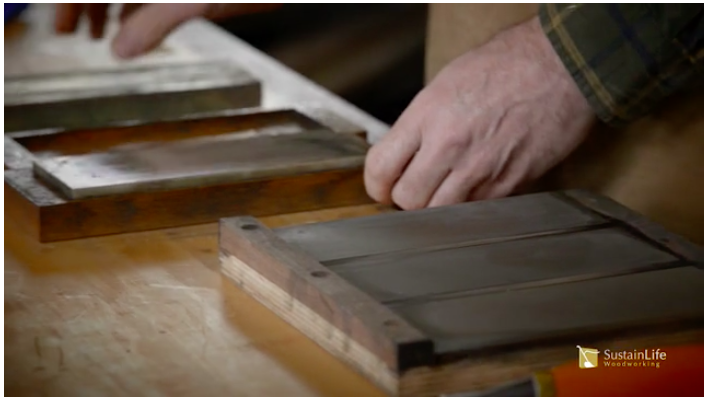
Course Diamond Stone – Basic Techniques
The coarse stone is about a 300-grit. The medium stone, (many times referred to by the manufacturer as a fine stone) is 600-grit. The extra fine stone is 1,200-grit. The hard translucent doesn’t have a grit designation, because it’s a quarried natural stone.
One of the main issues to be concerned about is the angle: 25 to 35 degrees is fairly standard. I just do it by eye.
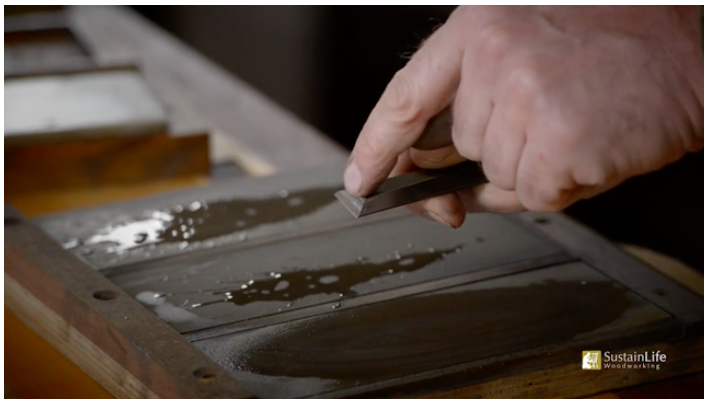
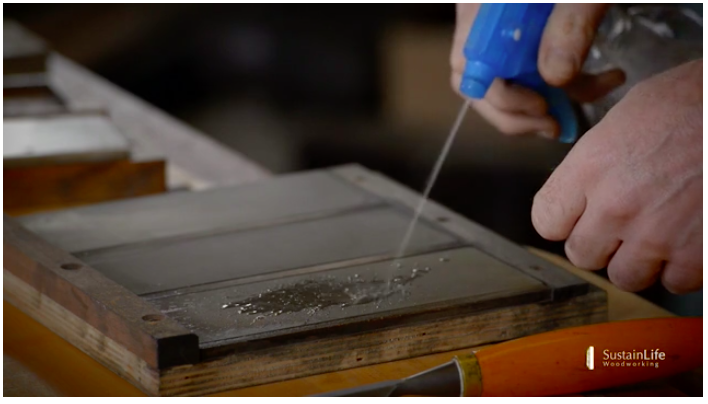 Start by spraying a bit of water on the stone. The water helps float away the particles so the stone doesn’t clog. I add a couple drops of soap to help break the surface tension of the water.
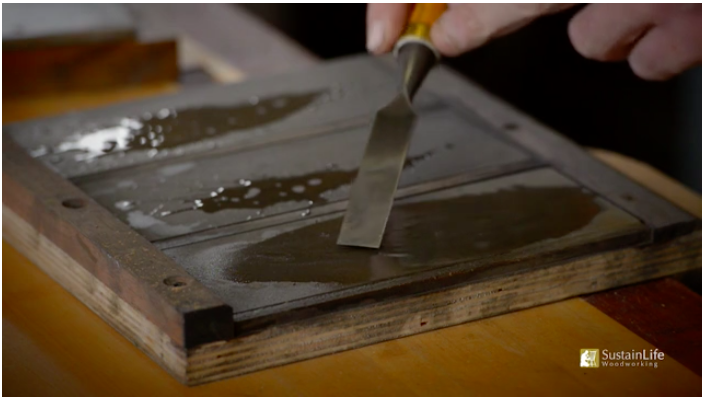
Grinding the Bevel
 The first actual step in sharpening after the prep work is grinding the bevel (the sloping part of the chisel). Start on the coarse stone. (Hold the stone in place either in the vise or a bench hook-like holder.) Bring your hand down close to the bevel and feel the bevel to make sure its flat on the stone. One way to check that is by rocking the chisel back and forth. You can even see the water pressing out right at the edge, and you know that you’ve got the angle.
So when you have the angle right, work it back and forth. Now there are several ways to do this. You could work in a circle, go straight back and forth, or do it in a figure eight, if you want to get fancy. The main point is that you want to keep up a consistent bevel.
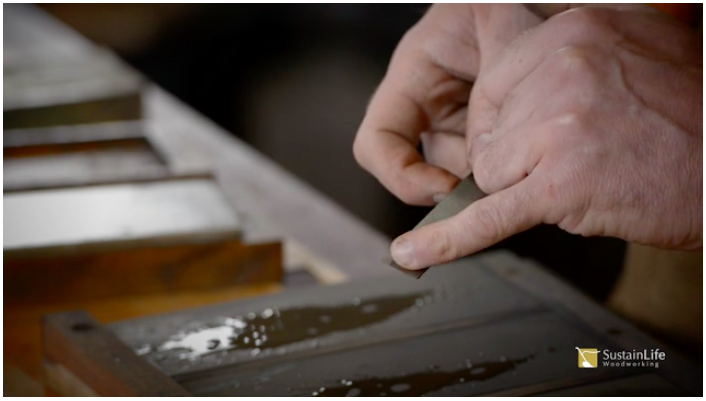
Scratch pattern
So how do you know that you’ve maintained the bevel? Well, check your progress and look for a scratch pattern. If you can see the scratch pattern on the entire bevel, you can see that you’re maintaining the same bevel that’s already there on the chisel.
Holding chisel too high
One thing to keep in mind: don’t hold the chisel way up by the handle. That rocks the chisel back and forth, rounding the bevel, which you don’t want to do. So hold the chisel as close as you can to the edge. Use both hands for stability. Work it back and forth in a circular motion. Again, strive to keep up a consistent bevel.
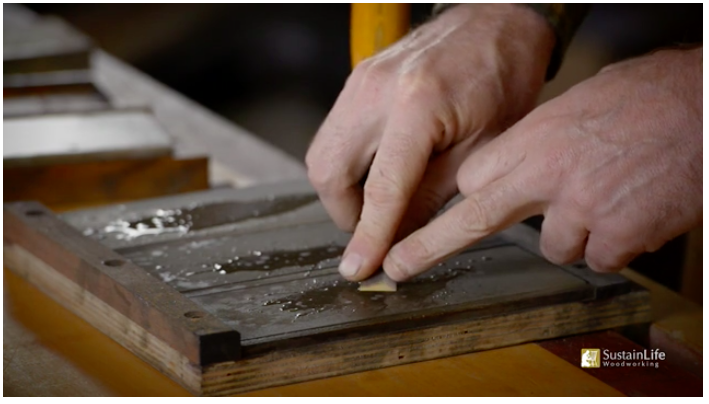
Now how do you know that you’ve gone enough on one particular stone? “That is the question.” Well, as I mentioned earlier, what defines sharp is having two surfaces meeting. Remember that what sharpening is doing to this bevel is removing metal. So you’re taking metal away from the bevel towards the back. When the bevel has met the back, you’ll feel a little burr.
The Burr
Feeling the burr
Now this is the secret to sharpening. You’ve got to get the burr. So you can feel–sometimes even see–the burr. (Unfortunately, you can’t feel the burr on this post. Sorry! You’ll have to watch the video where you can at least see it!) Make sure you feel it across the entire width of the blade. You might feel it a bit heavier on one side, but at this point all you need is to make sure that you feel a burr all the way across that edge. That means you’ve got the bevel meeting the back.
Polish angle
For the coarse stone, you’ll want to get a little heavier burr. If you’re not getting a burr, that means that either, (one) you haven’t ground enough on this bevel–you haven’t sharpened this bevel enough–or (two) you’re not at the right angle. If that’s the case, you could be a bit too low. To check, simply turn it over; look at that scratch pattern. If your scratch pattern is toward the back of the bevel, but not up towards the edge, you need to increase the angle.
When you can feel a good burr all the way across the back, that means that the bevel has met the back. The burr is a tactile indicator that you’ve gone enough on this stone. You’re ready to move on to the next stone.
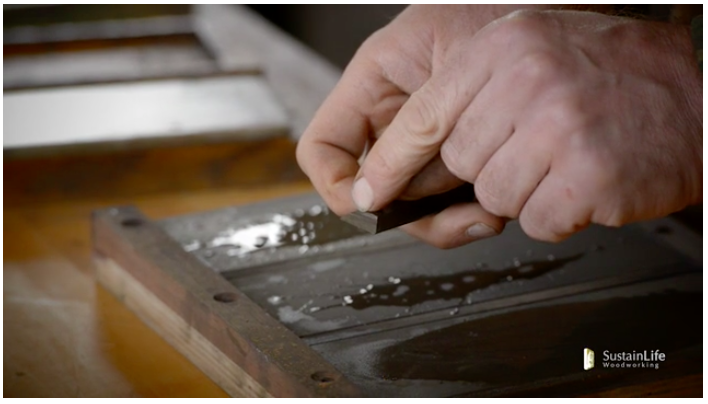
Removing the Burr
Removing the burr
The next step is to take that burr off. Head over to the fine diamond stone–or extra fine stone, whatever you want to call it. I put the stone flush with the edge of my stone holder so there is nothing in the way of holding the chisel flat. Then hold the chisel flat with its back on and handle perpendicular to the fine stone and move it back and forth sideways, taking the burr off on the back of the chisel. Keep good pressure with the hand on the back of the chisel and loose pressure with your other (handle) hand, guiding the chisel.
Don’t put your fingertips underneath the handle if it’s close to the bench; that will lift the chisel up. If you lift the chisel up, you’ll round the back. Another thing not to do is go straight forward and back, as though cutting wood–the chisel could ride up on the beveled handle socket, again, lifting the chisel up. Keep working it side to side until that burr is gone.
Polished chisel back
One important note: I sharpen my chisels every day, so their backs are already polished. In later posts, I’ll show you some of the problems that you can meet by sharpening a used tool–or even a new tool–and what you will have to do to get this type of polish on the back of your tool.
We’ll continue the sharpening series with Part 2 of How to Sharpen a Chisel coming soon.
Frank Strazza
Want to see Frank’s process in action? Visit our free video How to Sharpen a Chisel, part of our online course Sharpening Hand Tools.
Comments are closed.