We have finished the workbench class and got a little behind on keeping you up to date on what was accomplished each day. So we will be posting over the next few days some of the different steps that it took to finish the benches. It was really a great class and everyone left with completed benches.
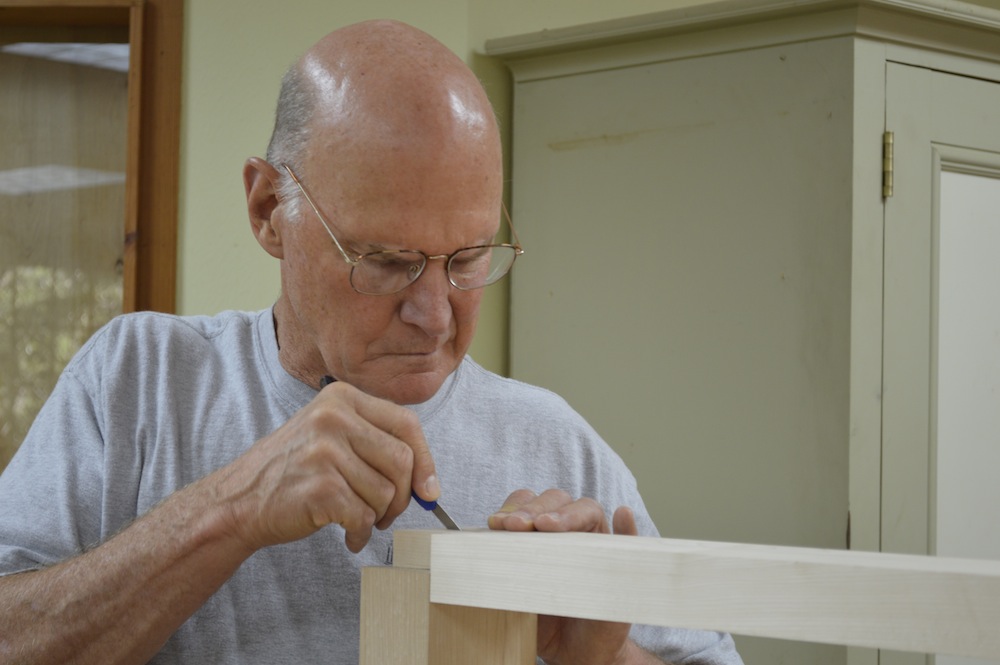
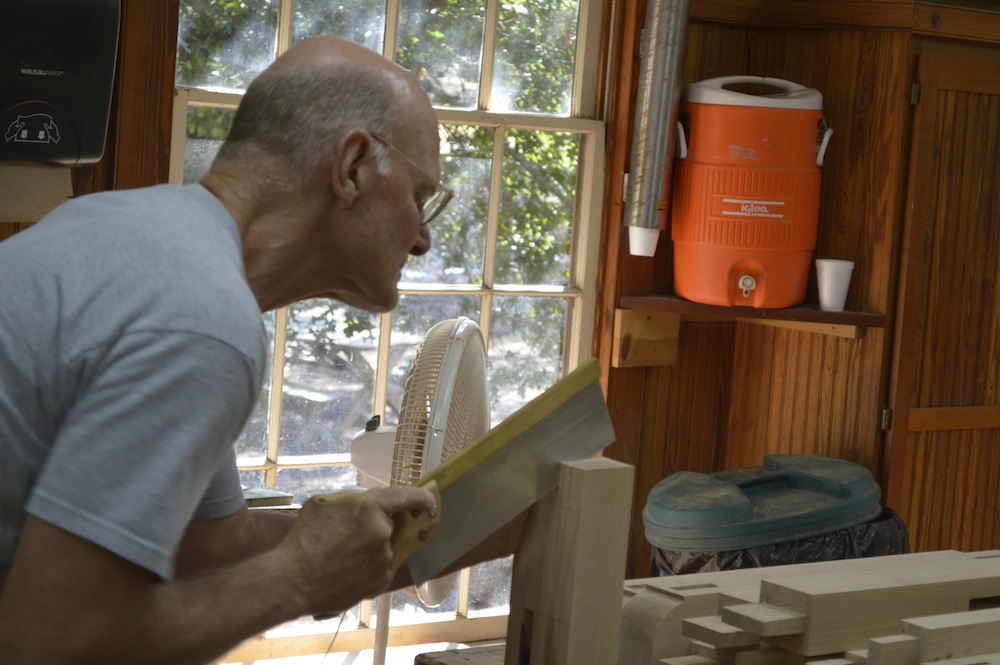
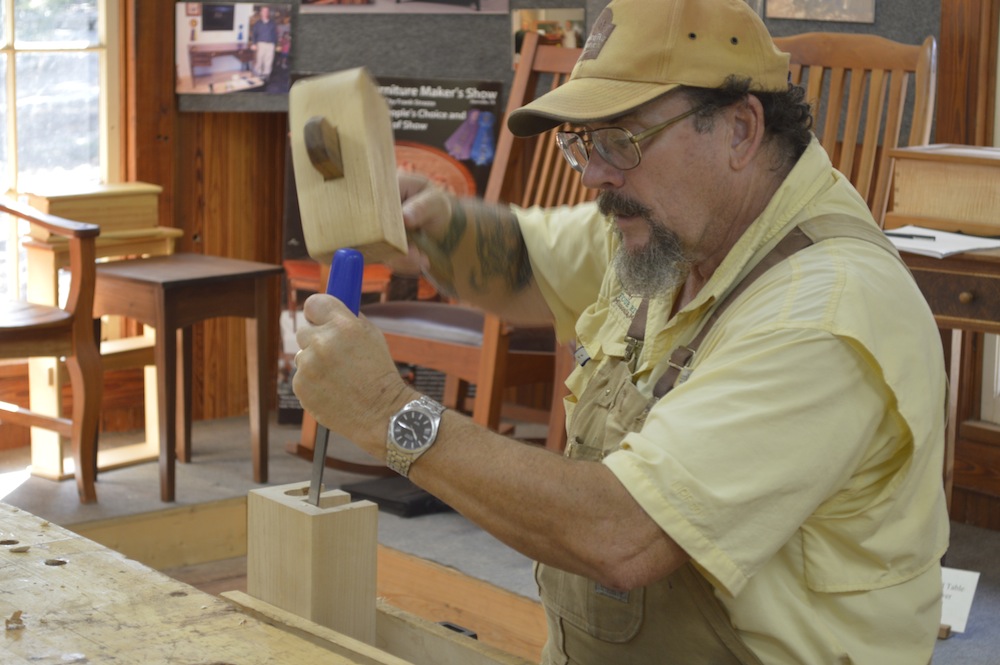
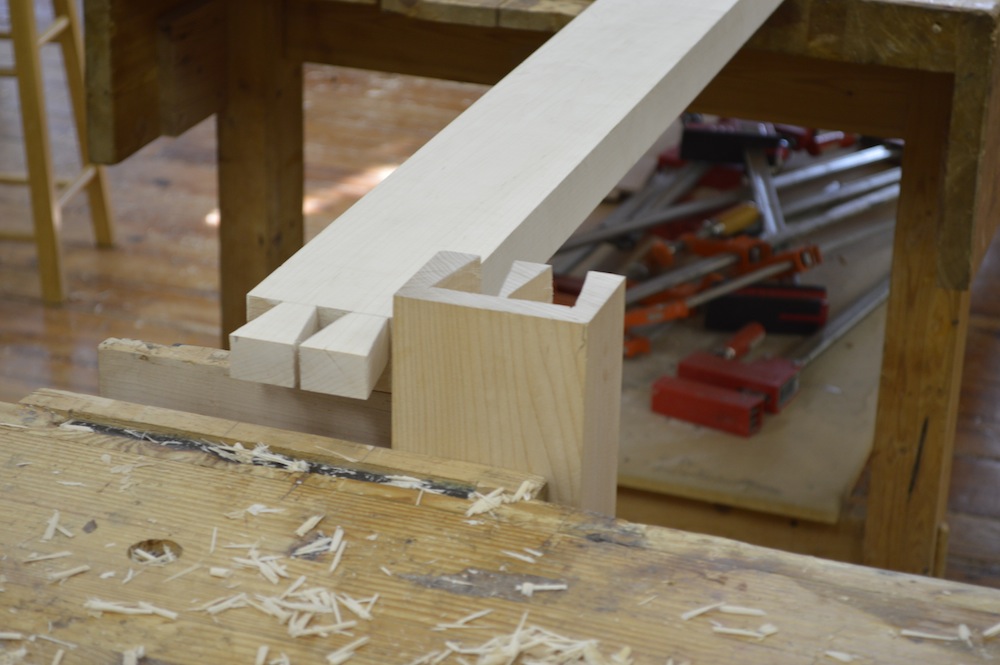
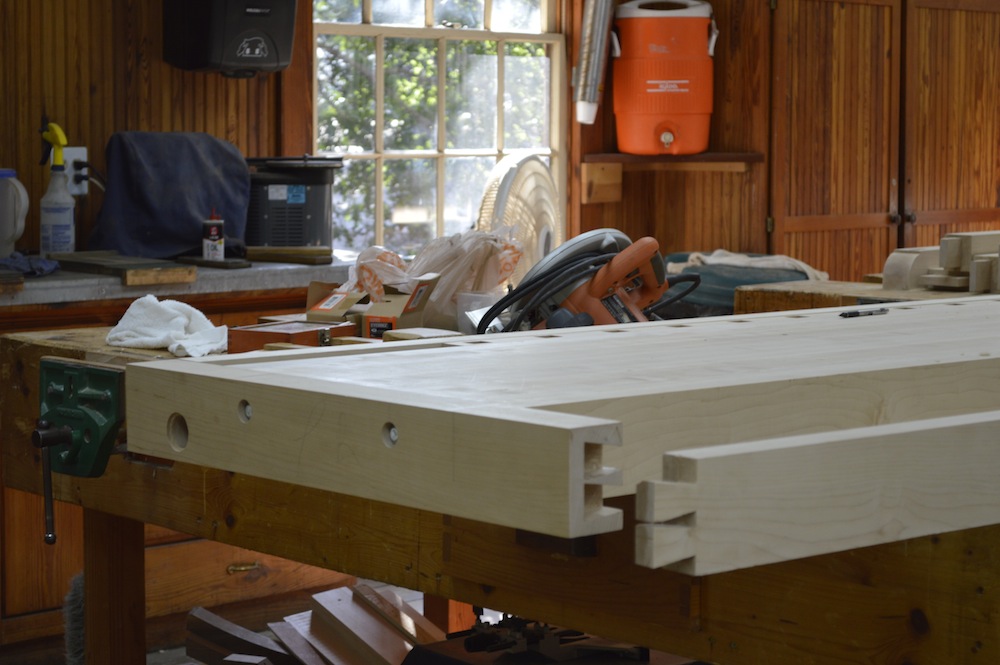
The next step was the dovetails for the top apron. All the tails on these benches are half-blind, so we started Monday by scribing the tails onto the pins, then spent the rest of the day cutting and fitting the dovetails. We used a drill and mortise machine to remove most of the waste, then came back with the chisel to get each pin to the line. I think cutting, removing and definitely fitting the dovetails was the most challenging part of the class. (Large dovetails in hard maple isn’t a piece of cake, but we don’t want the bench top to come apart either.) We spent all day fitting.
Jonathan Schwennesen
Want to make a workbench yourself? Sign up for our class. Want to find out more about what we think of workbenches? Read our previous bench post. Can’t make it to Texas? Learn online.
Frank,
Looks like another class well done!
Suggestion for next time – I use a router, free hand, when I have to remove that much waste in a wood like hard maple. You can get within 1/16th inch of your scribe line and be done with the bulk in no time. Noisey & messy, but very fast and you take the tool to the wood rather than the wood to the tool (i.e. mortiser).
I like your new class blog. Good work as usual!
Bill