Read all about Frank’s dresser project progress.

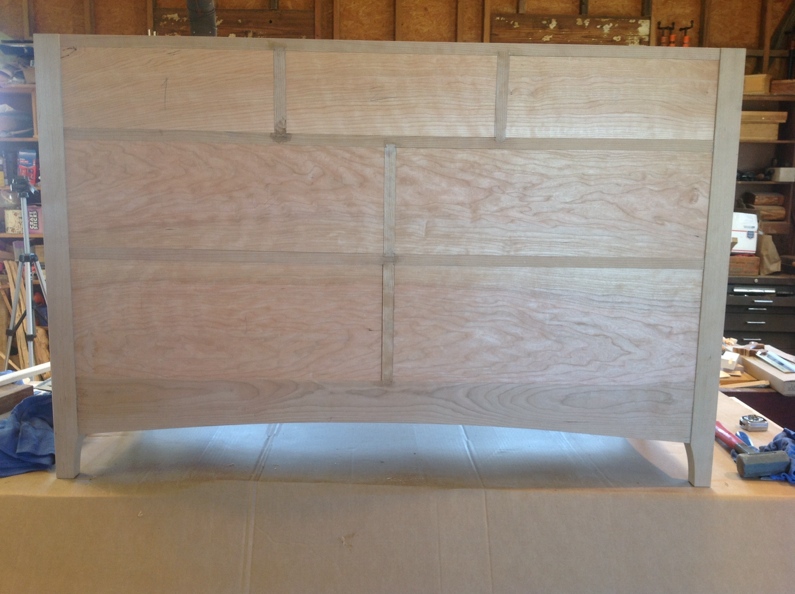
Drawer fronts fit to opening
It’s time to begin building the dresser drawers. I have spent a fair amount of time choosing the wood for the drawer fronts. In fact I was very pleased with the wood for the lower drawers: the grain runs all the way through and the lower 4 drawer fronts were all from the same board. I was not too happy with the upper drawer fronts so I recut some new stock. I think it matches a little better in color.
Fitting the fronts to the opening is a time-consuming, tedious process. Each drawer front has to be laid out and then carefully planed and fit to each opening so that it fits perfectly. I then milled the sides and backs and fit them as well. The secondary wood parts are all soft maple. It took a couple days just to get all the wood milled and fit. The dovetails are the easy part!
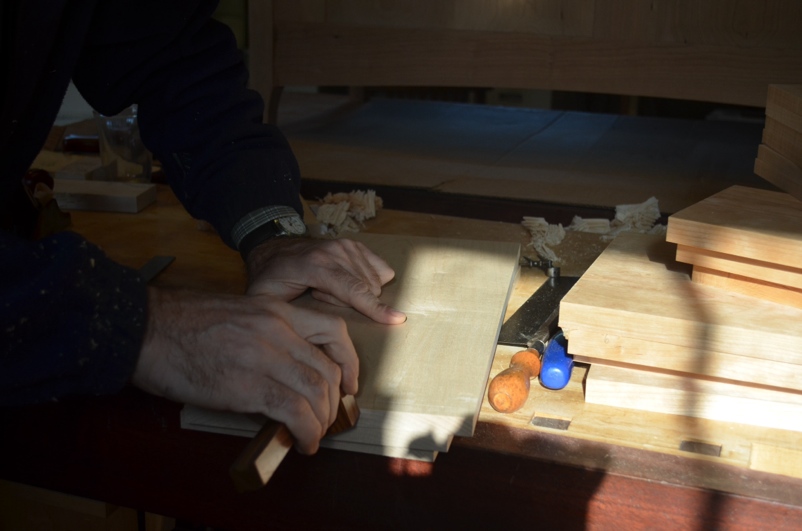
Then its on to laying out the joinery. I start by using my cutting gauge to define the depth of cut. It is important that great care must be taken to ensure accuracy.

Marking the dovetail base line with a cutting gauge
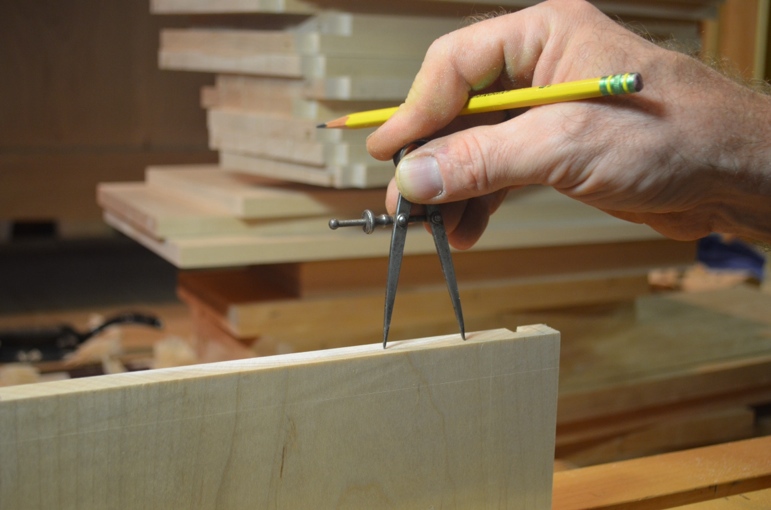
Laying out the spacing is next. Years ago, I used to measure out my tails using math and a ruler. Never again! Once you use the dividers it is extremely easy and no math is required!

Laying out the spacing using dividers
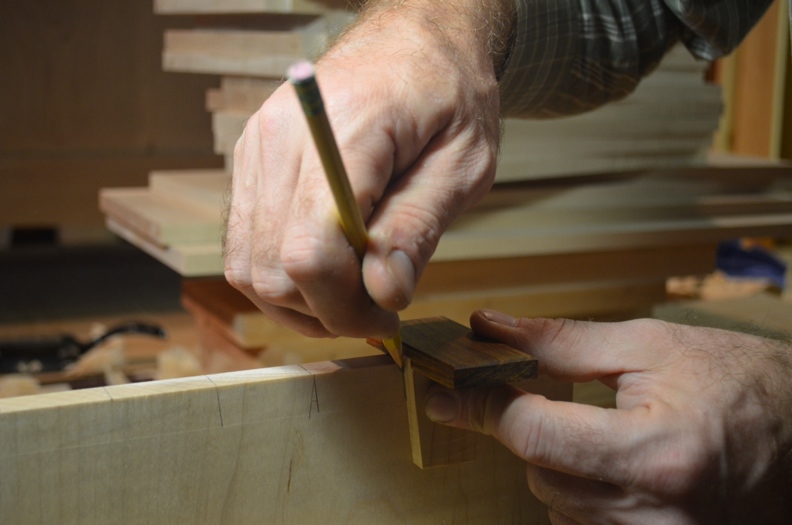
I began marking out the tails using a bevel square. My tools are in two locations, both here at my home shop and then at the school. I do have duplicates of some of my tools but it does pose a problem when I forget one and I have to run back over to the school to get a tool. Well, that’s exactly what happened here: I left my dovetail marker at the school. I was in a quandary over whether I should take the time to drive the 3 1/2 miles to the school and get it or whether it would be faster just to make another. I chose to make one and I think it probably was a little faster. I took some pictures of the process of making one of these little guys and I will try to write a blog about the process.

Marking the dovetails with my new marker
I prefer using this style marker because you can mark both the top square cut and the angle without moving the marker. It works so nice.
Now its on to cutting and more cutting and more…..
Frank Strazza
If you want to start learning the basics of dovetails, see our free video, A Dovetail Demonstration and sign up for our online Basics of Joinery Course to get in-depth classes on dovetails and other joints. For a full-blown dresser project, sign up for our on campus Four Drawer Dresser course.
Frank,
I use the same techniques laying out my dovetails, as you described above. It’s so fast, simple and flexible that I wish I’d known about using a compass when I first learned to dovetail. Great article and keep them coming.
Cheers,
Lee