Last weekend I taught two inlay classes. At the end of each class I did a little class extra for the students. Actually, it really was for me! I really enjoy the precision, detail and challenge of fine marquetry. I have often questioned myself and find it interesting that I go from splitting wood and roughing out chair parts to cutting extremely fine pieces of wood that I can barely hold in my hand. I suppose one extreme has a way of balancing out the other!
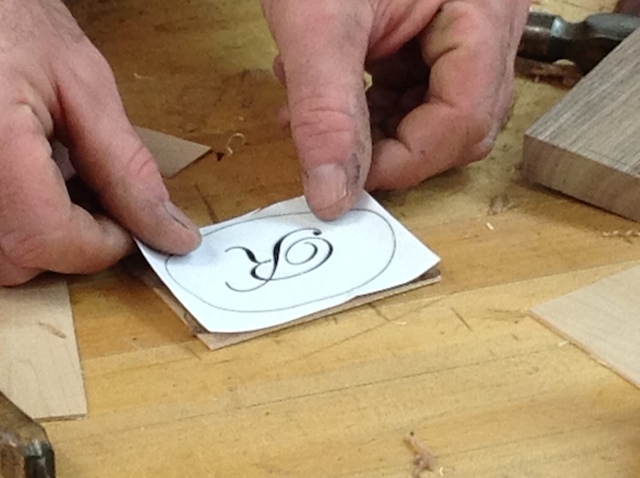
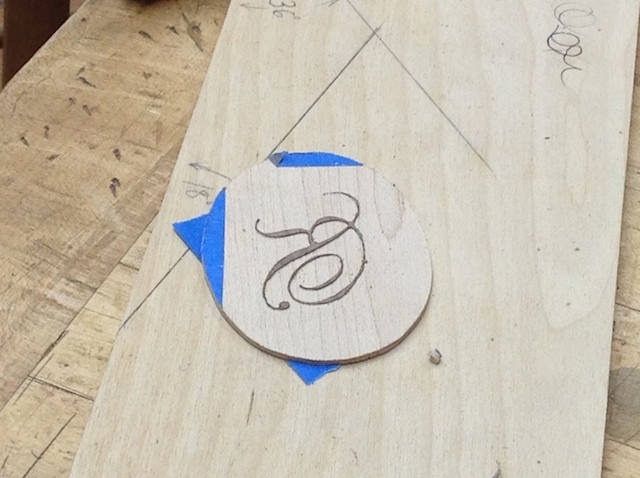
So I put together a packet with a single letter, I picked the hardest font I could find, mostly to show that it could be done totally by hand with a hand held fret saw.
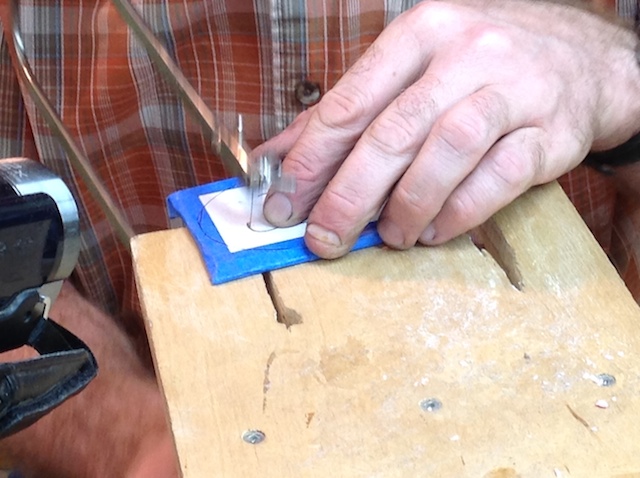
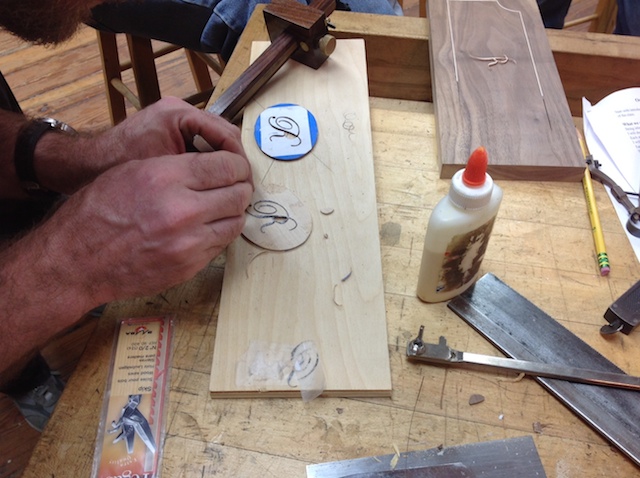
In fact if you tried to do this with a scroll saw, chances are the pieces would be in the trash. The scroll saw does not allow you the precision that you can get by doing it by hand. I am not sure if you can see from the pictures but these pieces are extremely small–tweezers are the only way to handle some of the pieces!
I started by making a packet and then cut it out using a handheld fret saw and a little birds-mouth support. I used the double bevel method, which allows you to be able to make a perfect cut with zero gaps. I then demonstrated using the Chevalet to cut the outside of the packet out. This could have easily been done with the fret saw but I wanted to show off the Chevy! I plan to write an article on this entire process and I will keep you posted on that as well. It really is not that difficult to do this and you can personalize any project with a few simple tools and a little practice.
I hope to do a marquetry class in the future. I have had several requests for a class. If you are interested in taking a simple marquetry class from me, then please leave a comment below. I will do my best to pull one together and will keep you posted on the progress. I am posting a couple pictures below showing some samples of what you can do with marquetry.
And if you are interested you can see some more intricate marquetry here!
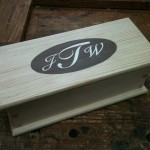
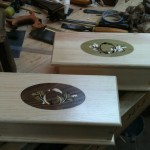
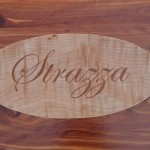
I attended the inlay class last Friday and so got to watch you go through this process. Yes, I would be very interested in a “simple marquetry” class.
Hi Frank,
I have enjoyed taking your one day in-lay course and would love to take a simple marquetry class. Hope you are able to put a course together.
Also enjoyed your blog about the Oklahoma Professor who makes violins. I met him at a Mark Adams course when he was just getting started in woodworking. He had bought every single Lie Nielsen plane they made and was intent on learning to sharpen.
Dick
I would be very interested in a marquetry class.
Do you start with a drilled hole and insert the saw blade? If so what size drill bit are you using to match the blade?
HI Mike,
I am using a very fine drill bit to drill several entry holes. I actually got them from a guy that sells scrollsaw blades. They measure just a hair over .5mm. I use a little hand held twist drill from Rio Grande Jewlers supply in New Mexico. You can also get the drill bits from them too.