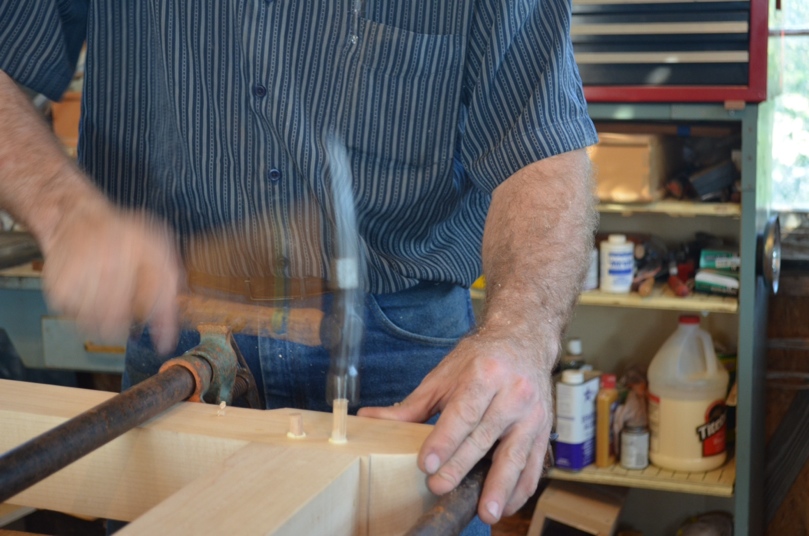
Hammering pegs home
Pegging Tenons
I wanted to share a couple tips and tricks with you for pegging the tenons on your workbench. I have been pegging all the mortise and tenons on these bench bases, using 3/8″ oak dowels from Home Depot. (See more posts on the current and previous workbench projects here).
I start by laying out the hole location using a pair of dividers and then drill the holes.
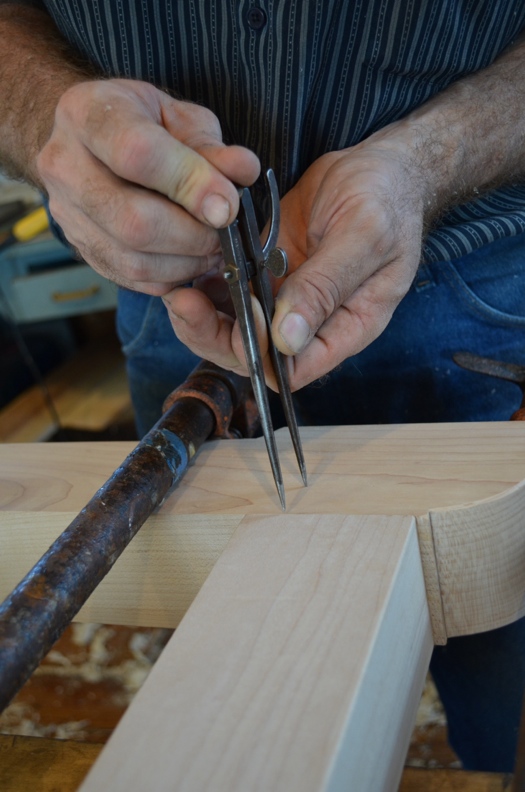
Laying out hole location
I then cut the pegs a little longer than needed.
I have found that if you taper the ends just a little, not to a point, just easing the ends, it really helps the pegs go in much easier.
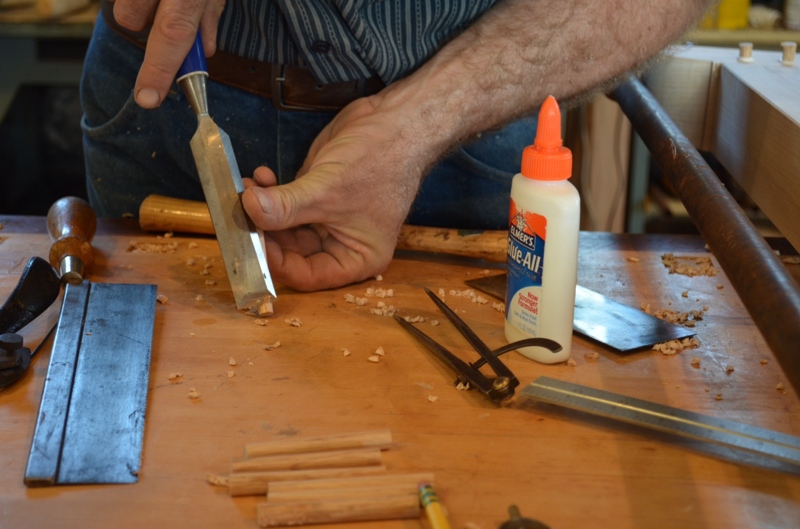
Tapering ends of tenons
I have used both yellow and white glue for this. I have found that white glue is much more forgiving, especially when you are trying to drive in a very tight peg. The glue adds moisture which swells it slightly making it even harder to get in the hole. Yellow glue tends to stick more and the white glue tends to slide more. Put a little glue on the peg and drive it home with a metal hammer, don’t stop, or else the peg will freeze in the hole.
Whoops! Fixing Dents
If you miss with the hammer as I did here…. (I hope my bench customer is not reading this!)
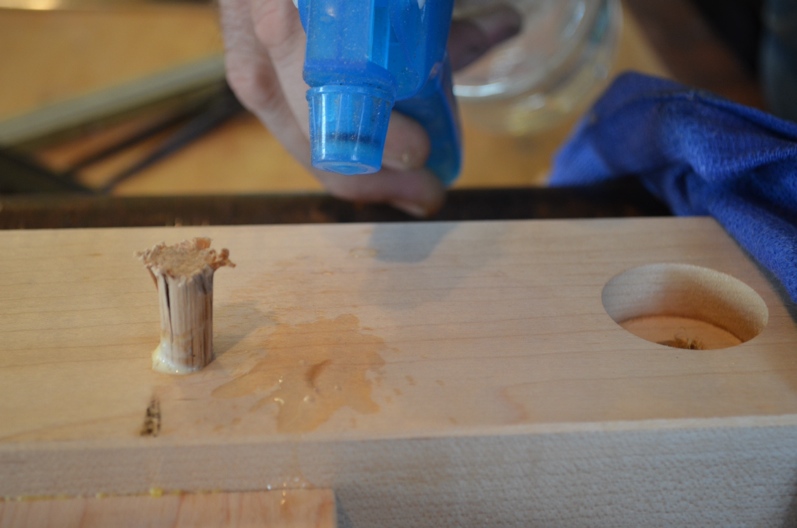
Missed with the hammer!
Then pull out the trusty clothes iron and simply add a little water to the dent, put a damp cloth over it and iron out your dent! It’s that easy! I do go over it several times adding more water to the rag and even taking the rag off and adding a little water directly to the dent. A few times and it should raise the dent right out.
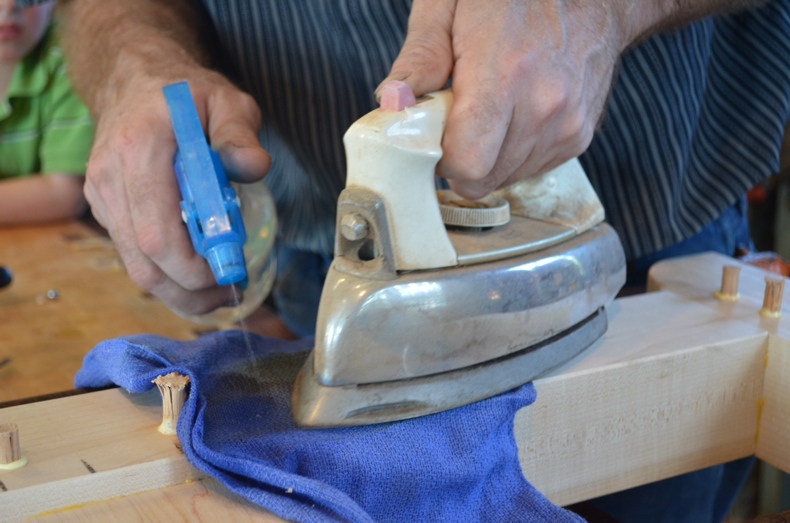
Steaming out a dent
As you can see here, the dent is nearly invisible and I highly doubt anyone would ever see where I slipped. So, if you slip just iron it out and keep going.
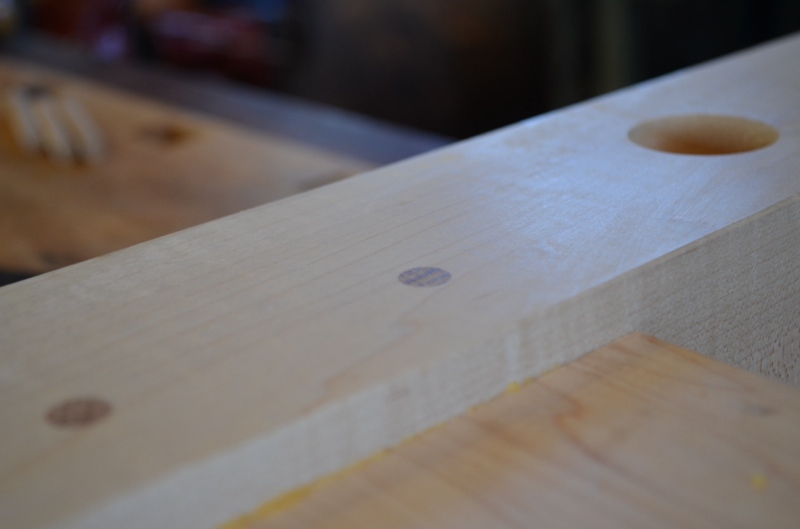
Finished pegs with no dent!
Frank Strazza
See our online woodworking classes to learn more about joinery and more!
Comments are closed.