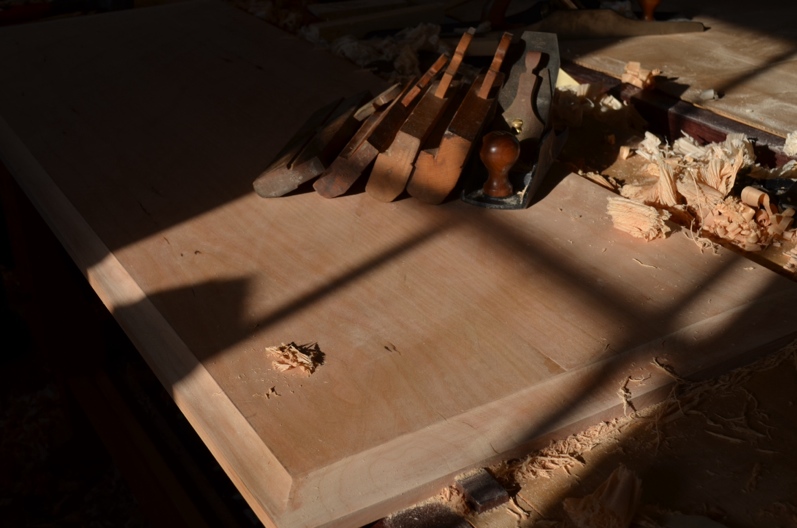
Finished edge profile with the tools used
While building a piece of furniture it seems that it’s always the little details of design that get you. Even down to what is the best edge treatment for the top profile. When I build and design a piece I often look for subtle ways to tie together the design elements of a piece. Case in point, as I wrote in a previous post, I decided that a subtle curve in the feet of the legs would tie the arches together in harmony. As I worked on this piece more I decided that I would like to tie that same theme to the top of the piece as well. So I decided that a subtle curve would be appropriate for the underneath side of the top, thus tying the curves at the base with it. Again, a very small detail that most might not pick up, but it shows that care was given in the design process.
As usual I often like to make more work on myself and this was definitely a bit more work than simply just putting a bevel on the underneath side. I decided to make the ends overhang 2″ on either side for visual appeal and the front only overhang 1″. If I made the overhang equal all the way around then there would be too much overhang on the front, and you might end up with a drawer full of clothes landing on your feet before you saw the end of the drawer. Form follows function here!
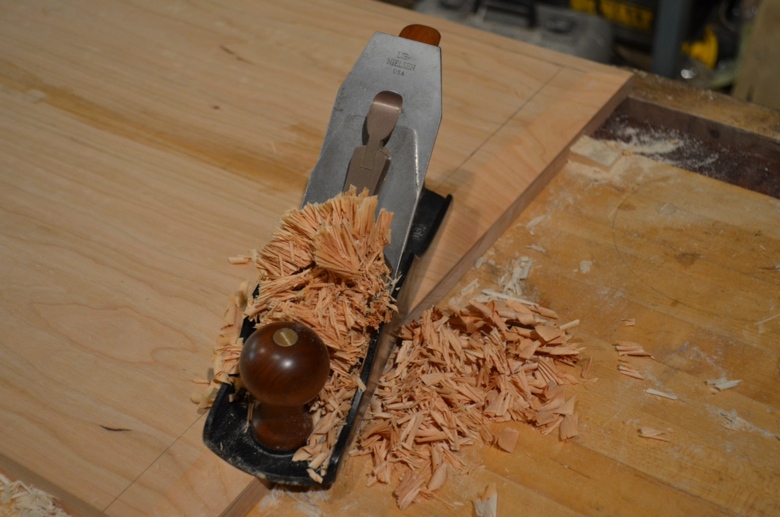
I started by marking out the overhang and then planed a bevel on the underneath side of the top.

Planing the bevel first
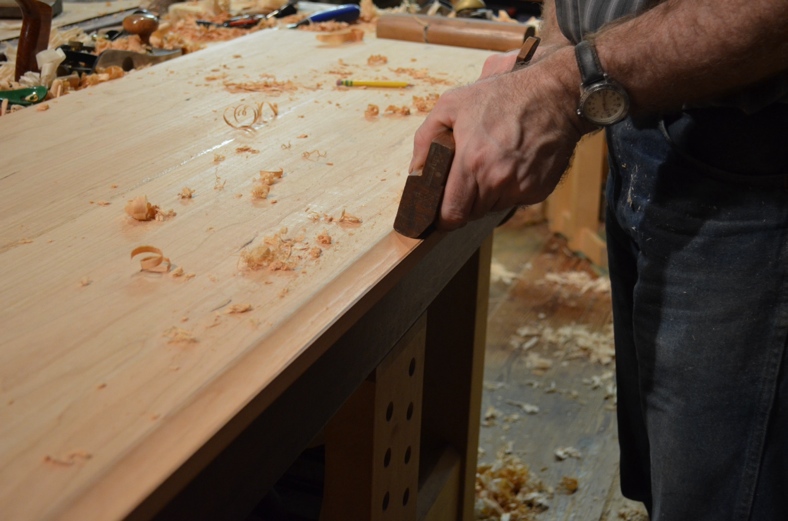
I then went to my moulding plane collection and selected a few round planes. Next I planed a subtle hollow, simply using my fingers as a guide.

Planing the hollow with a round moulding plane

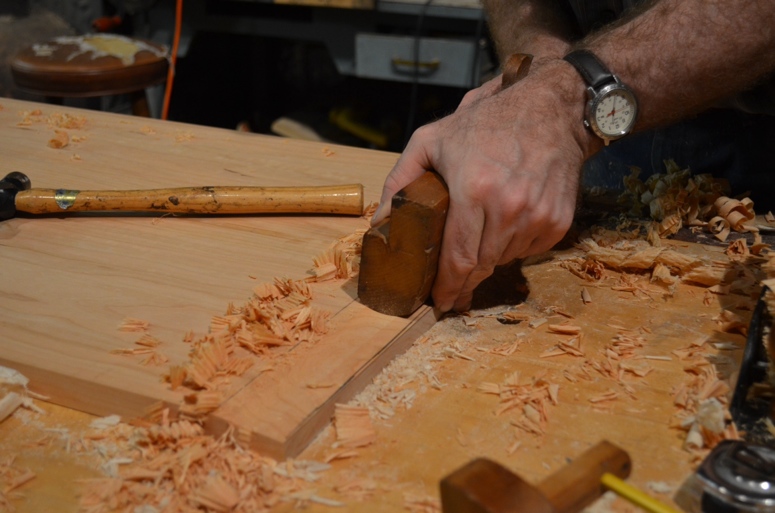
End grain is a bit more of a challenge to plane
Cleaning up the joints with a curved card scraper and some sandpaper finished it off. All said and done, it really was not too much more work and I will say, I like the tactile feel and the visual appeal of the subtle curve.
Frank Strazza
Read all about Frank’s dresser project progress.
If you want to learn to make this 7 drawer dresser top and more learning straight from Frank himself, sign up for our on campus Four Drawer Dresser course.
Comments are closed.