This Monday we began a workbench class!
We started the day by gluing up the tops. I spent over a week pre-milling all the wood to save time during the class.
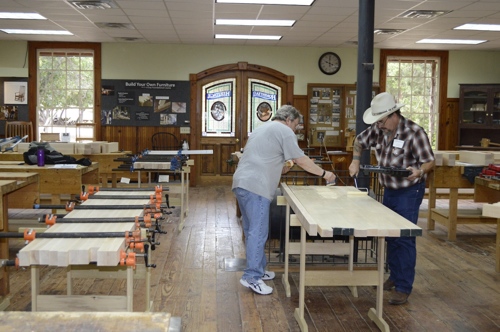
Gluing up Tops
We then marked all the mortises that hold the base together. We began by using the brace and bit, but that only lasted for one or two mortises! We switched to an electric drill with a 5/8 brad-point bit to remove the waste; that works a lot faster especially in hard maple!
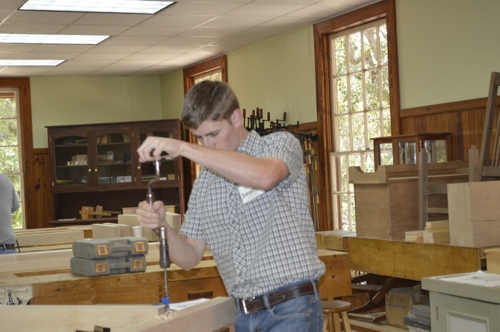
Boring Holes the Slow Way
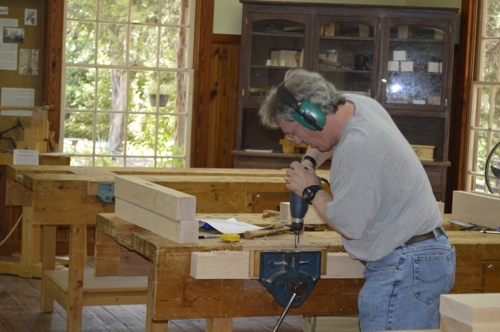
Powerboring!
Don’t use a Forstner bit: it’s hard to control and can easily get stuck inside the hole. After removing the waste from the mortises we went into the machine room and finished up the mortises on the mortise machine.
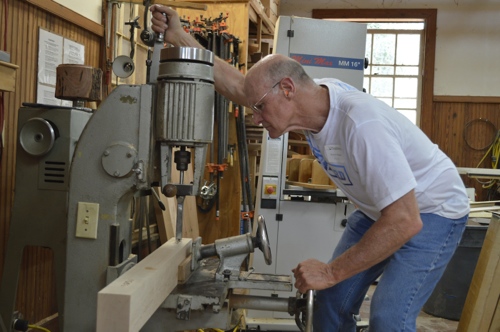
A little help from the mortiser!
The last thing we did was lay out the tenons on the center stretchers. This is a 10-day course and the goal is for everyone to leave with a completed bench. Stay tuned as I will be posting more updates!
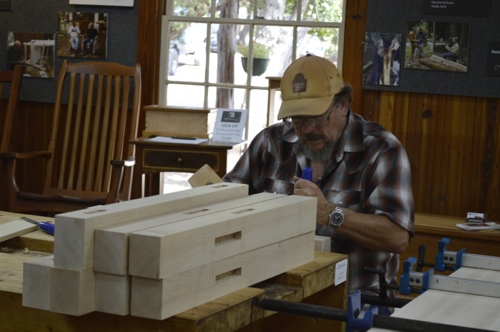
Laying out more joinery
Jonathan Schwennesen
Comments are closed.