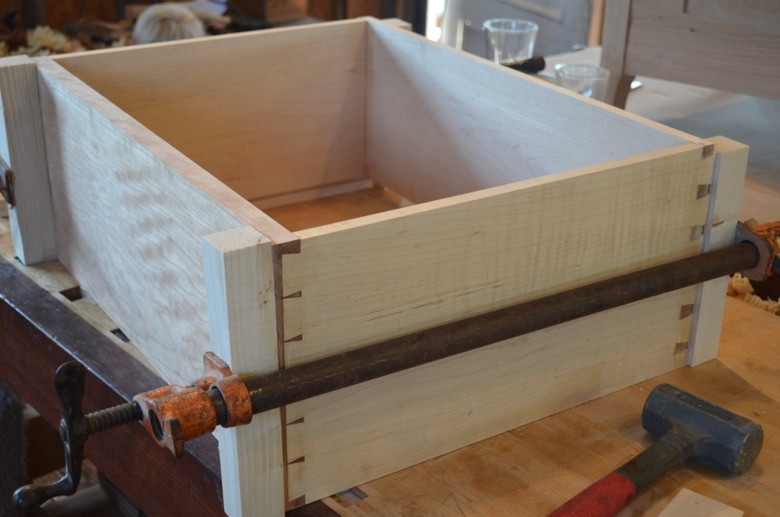
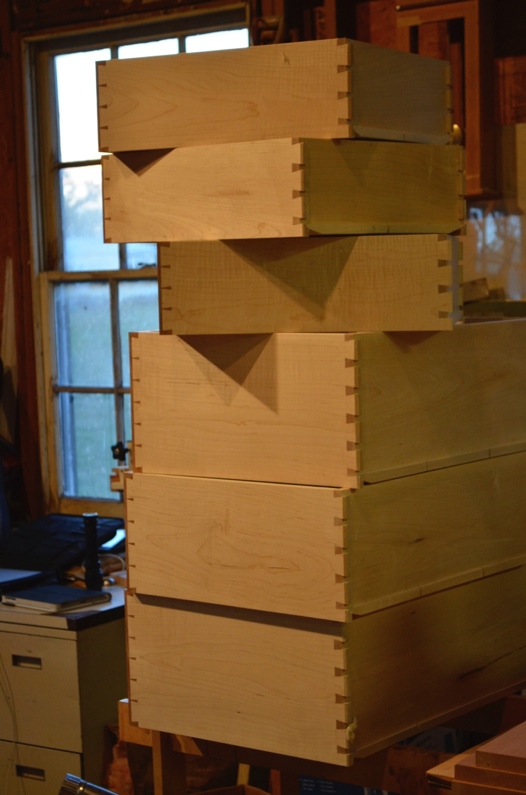
It’s time to turn our attention to the glue up. I have cut all the half blind dovetails in the front of the drawers and through dovetails on the back of the drawers. I have decided to glue the drawers up without the bottoms in place and then fit the bottoms later. This is not the approach I usually take; normally when I glue up a drawer, I include the bottom in when I am gluing up. After gluing up these 7 drawers without the bottoms, I think I will always do it this way–fitting the bottoms later.
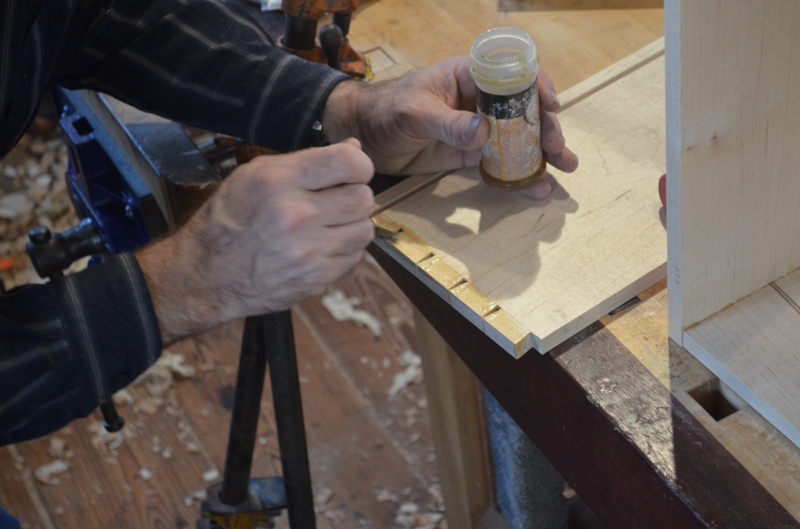
I have gone to using hide glue exclusively for gluing up this dresser. There are two reasons. The first being that the glue acts like a lubricant and allows a tight joint to be knocked together very easily, plus it allows you to move it around if need be. The other advantage to hide glue is that it cleans up much easier than regular yellow glue. It is a little more of a pain to use–you have to soak it first then heat it and get the mixture just right. But I think it’s worth the extra effort spent. I have added a little urea to the glue to extend the working time. I prefer to use hot glue but you can buy premixed glue from The Old Brown Glue Company. This glue already has urea mixed in it so it has an extended working time. All you have to do with it is simply warm it up.
I like to put glue on both surfaces and then hammer home the joints. If you put a caul over the top of the joint when you are hammering it home it helps distribute the hammer pressure and will decrease the possibility of the joint cracking if it’s a little too tight.
I also use cauls when clamping the drawers together, to help distribute the clamping pressure.
In the next post I will show you the joinery detail that is hidden underneath the top, the joints that will never see the light of day!
Frank Strazza
Read all about Frank’s dresser project progress.
To see Frank’s dovetail making in action, sign up for our online Basics of Joinery Course to watch our online video, Cutting the Dovetail Joint, and get other in-depth classes on dovetails and other joints. To preview the Joinery course, see our free video, A Dovetail Demonstration. For a full-blown dresser project, sign up for our on campus Four Drawer Dresser course.


Frank,
A couple of years back I built a mesquite tapered post and panel chest of drawers for my son. When building the drawers I tried something new (for me any way) – I used NK style drawers (Swedish designer Nordiska Kompanient). It made fitting the drawers very easy and the drawer action for even the deepest drawer was as smooth as glass.
Have you ever experimented with this style of drawer? Do you have an opinion about this style?
Bill
Hi Bill,
I am unaware of this style. Can you expound? I have chosen a more traditional drawer runner design here. It has proved to work well, and the drawers are very smooth running. I would be interested to hear more about the method you used.
Frank
Frank,
Here is an old article in FineWW:
http://www.finewoodworking.com/how-to/article/a-better-way-to-build-drawers.aspx
If you are not a member, I can email you the PDF file directly – just let me know.
I can’t remember where I first read about this, but I decided to give it a try and was very pleased.
Bill
Thank you Bill,
I will take a look, membership to Fine Woodworking is well worth the money spent!
Best regards
Frank