Read all about Frank’s dresser project progress.
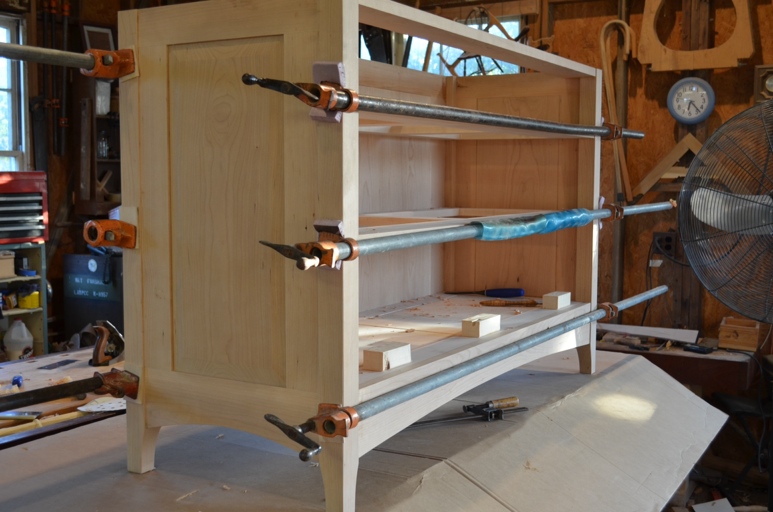
Dresser case glued up
Now that I have the whole dresser glued up, which by the way was a challenge! I glued up most of it with the help of my 9-year-old and then just in time, Jonathan Schwennesen came by the shop and offered me a hand to put some of the larger clamps in place.
Its time to move on to the pieces that divide the drawers. These are all secured in place with tapered sliding dovetails, of which there are 10 total.
I start by laying out the tail-piece first, marking the angle of the tail as well as the taper on the top.
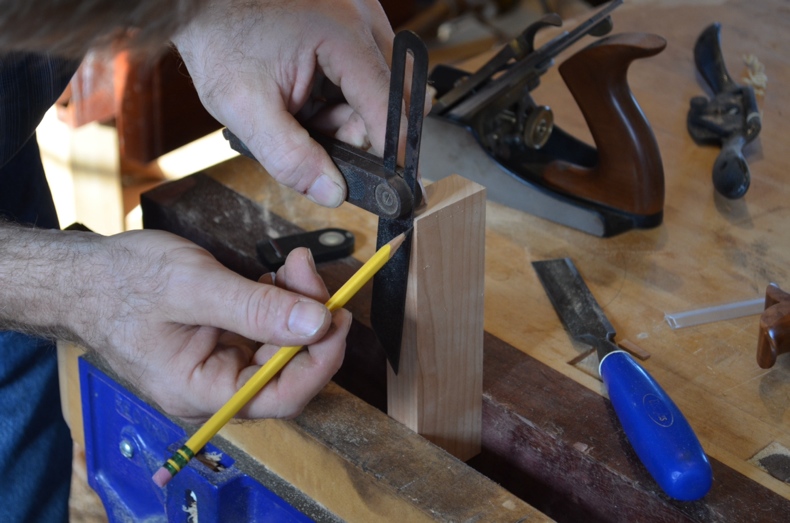
Laying out the tapered sliding dovetail
Then it’s off to accurate cutting.
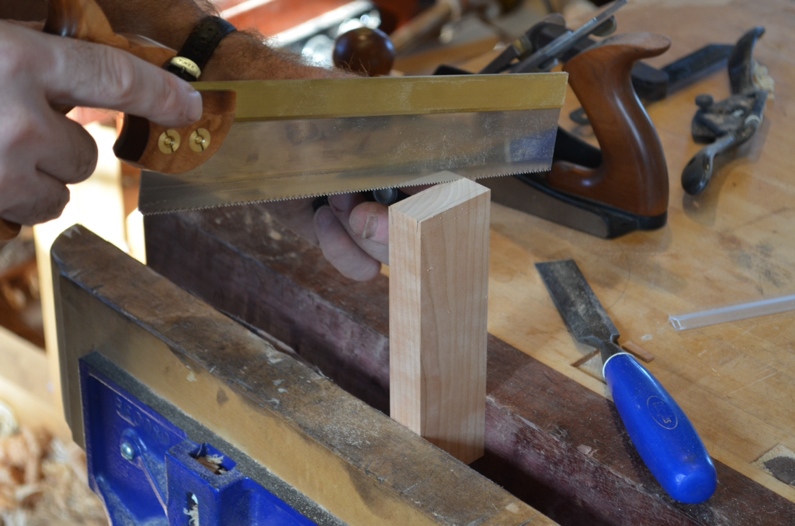
Cutting the tapered portion of the tail
Transferring the tail to the pin must be done extremely accurately and can only be accomplished with a knife.
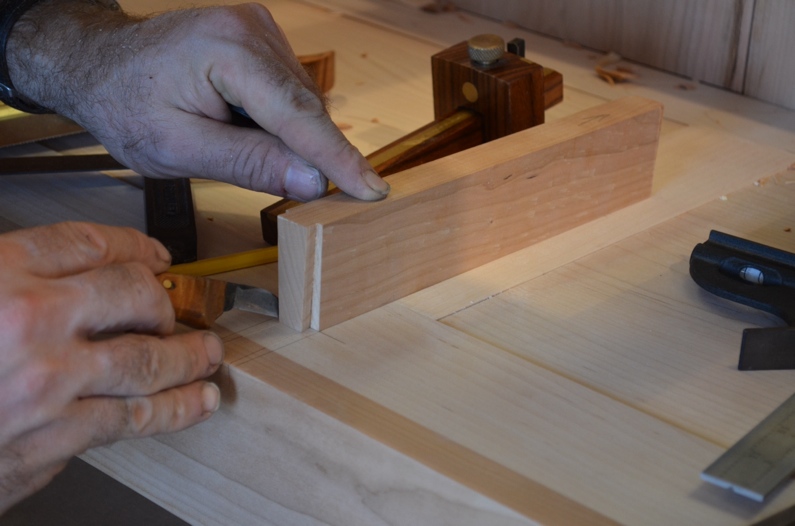
Transferring the tail to the pin
Cutting with my new dovetail saw is an absolute joy!
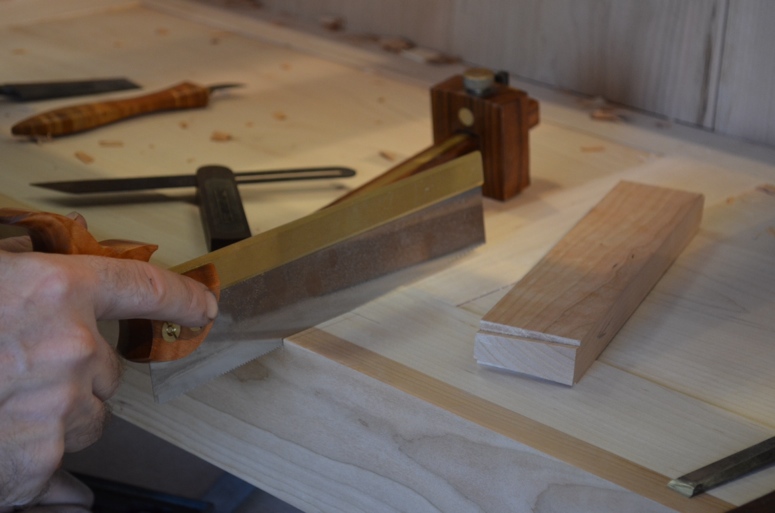
Cutting the pins
Finish up by carefully chiseling out the waste.
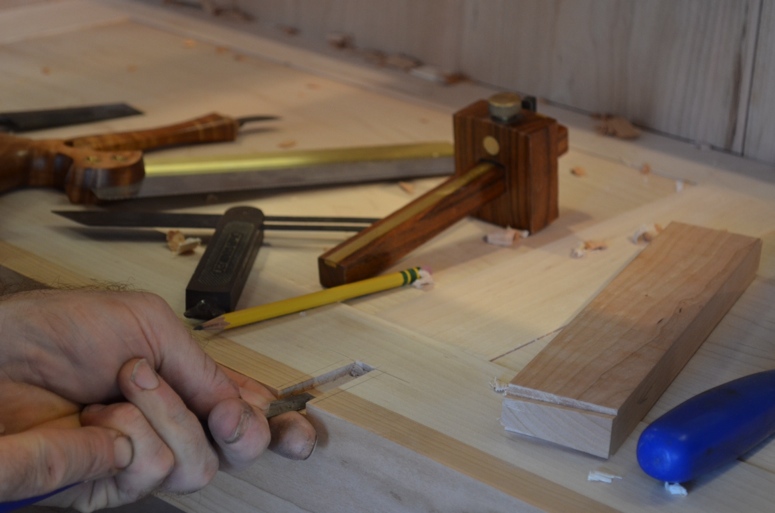
Chiseling out the pin recess
I can’t say too much about the process of cutting this joint for fear that I might breach my contract with Popular Woodworking. Look for an article on a step by step approach to cutting a tapered sliding dovetail, early next year in Popular Woodworking Magazine. I am looking forward to this.
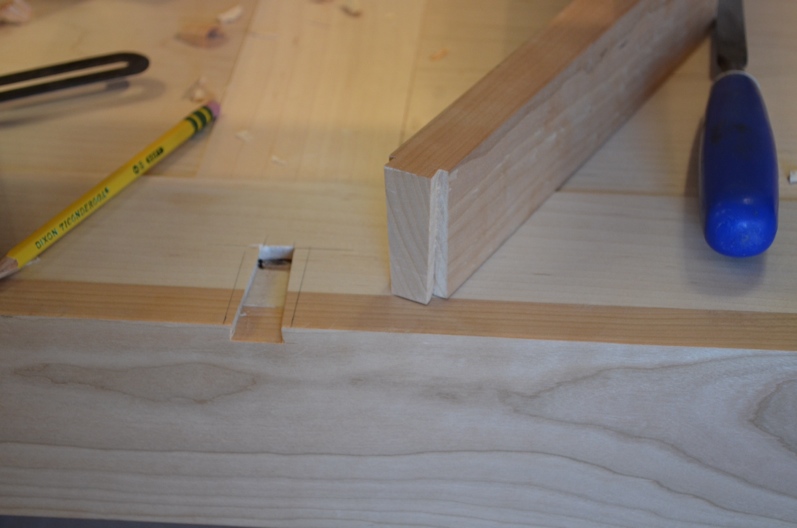
The finished joint!
Here are a few of the tools that I used in the process of cutting the joints, as well as a few of the dividers glued in place.
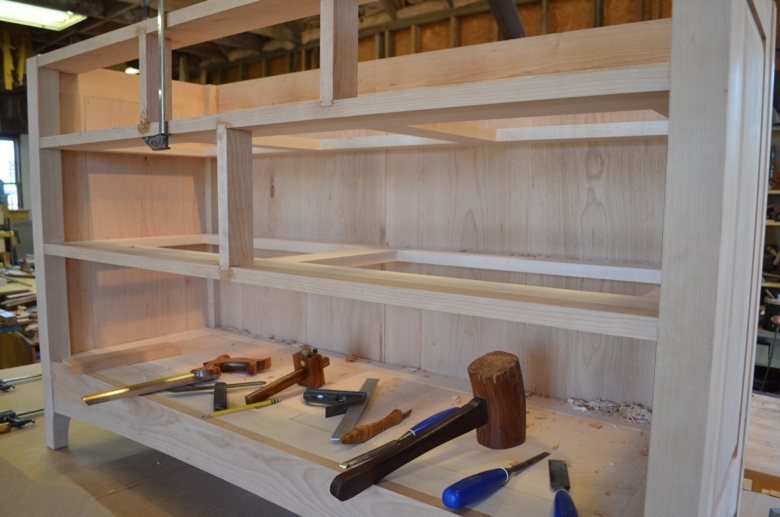
Drawer dividers glued in place
Next it’s on to cutting tons and tons of dovetails for the drawers. I have 7 drawers total, with half blind dovetails on the front and through dovetails on the back, so stay tuned!
Frank Strazza
If you’d like to learn more about tapered sliding dovetails and other complex dovetails, check out our on-campus Hand Cutting Dovetails class. For a full-blown dresser project, sign up for our Four Drawer Dresser course. If you want to start learning the basics, see our free video, A Dovetail Demonstration, and sign up for our online Basics of Joinery Course to get in-depth classes on dovetails and other joints.
Comments are closed.