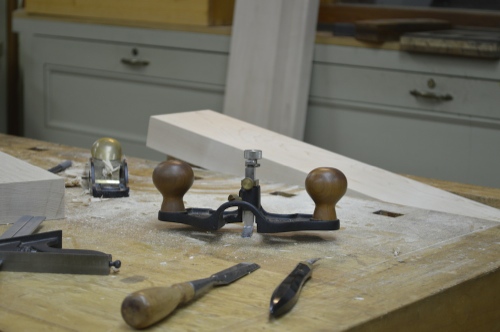
Tools of the trade
We started Day 2 of our Workbench Class by cutting the tenons for the center stretchers.
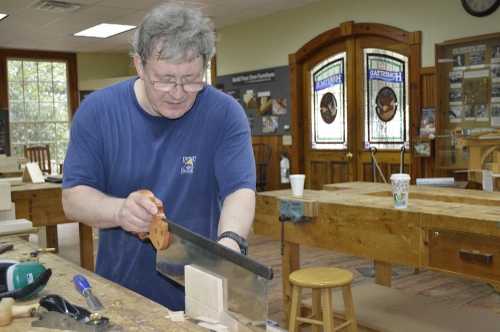
Cutting tenons
We then moved on to machining the tops to finished size. One person at a time would bring their top into the machine room and we would plane it to thickness, joint one edge, rip it to 17” then joint the ripped edge and then finally crosscut the top to length.
After it was cut to length we marked the tenons on the top, then used the skil-saw and cut on the waste side of the lines to rough remove the waste. We then chunked out the bulk of the waste using a chisel and mallet.
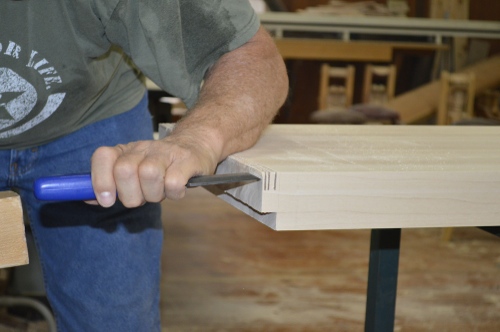
Bulking out the waste with a chisel
Finally we finished with the router. Yup, I said router!
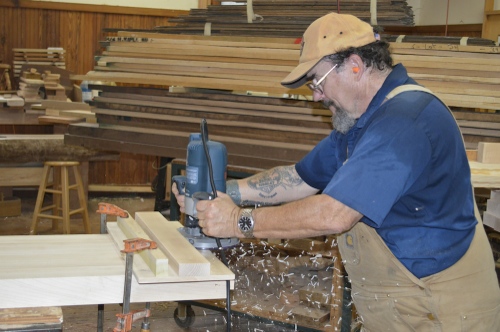
Don’t tell anyone you saw this!
The router leaves such a nice clean cut for these tenon shoulders. However we may have to go back and touch up the shoulders with a shoulder plane, so we aren’t giving up on hand tools totally!
We finished the day by gluing on the 4” side pieces.
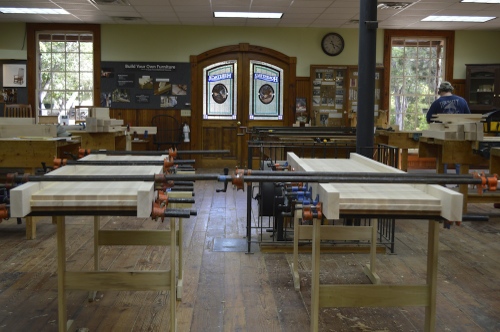
Side pieces glued on
Jonathan Schwennesen
Interested in a workbench class yourself? Check out this class for the future here. See our blog on how important the Traditional Workbench is. Can’t make it Texas? Then learn online here.
Comments are closed.