
We just completed our workbench course, making 4 wonderful benches complete with hard maple tops and bases. We chose a quick release front vise as well as a wagon style tail vise. Tim, our apprentice, made his bench reversed to accommodate his left hand preference!

This was a small group of dedicated guys, and this was one of the most enjoyable classes I have taught. There is something very satisfying about making a tool that you will use for the rest of your working life, or that someone else might use. Knowing that you fashioned it to the best of your ability, putting your blood and sweat into it makes it worth a whole lot more.
We began this 10-day class with the hard maple rough-milled to size. None of the stock was glued up for the tops; it was just jointed and planed and cut to size, ready for joinery.

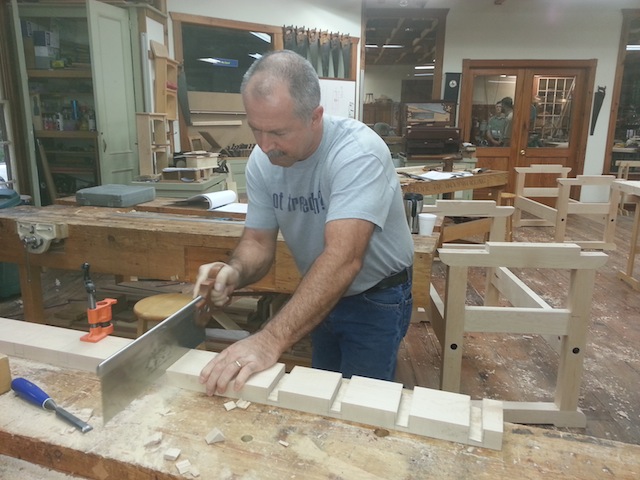
We started on Monday by mortising the legs and cross stretchers for the bases. I told the class up-front that I did not mind “cheating” a bit by using some power tools. Needless to say, chopping 14 mortises ¾” wide and 2 ½” deep into hard maple by hand would have taken a LONG time, so we drilled out the waste with a smaller bit and then used the . . . hold your breath you hand tool die hards . . . . We actually used the mortise machine with a ¾” bit!! Let me tell you that saved a lot of time.

The next few days were spent cutting and fitting tenons and then gluing up the tops. We worked on pegging the bases with 3/8” oak pegs, as if they would need it—as big and deep as the mortise and tenons are, they would hold up an elephant, but oh well! We turned our attention to the top after we had the base all together. After cutting the tops to size and creating a tenon on the end to accept the end caps, we finally turned our attention to the dovetails.
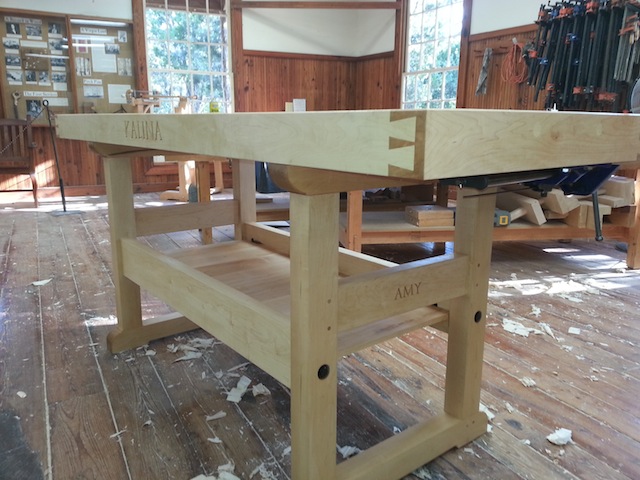
The top apron is a full 1 ¾” thick on the sides and 2 ¾” on the end caps, with half blind dovetails all the way around. If you have never worked in hard maple, let me tell you it is VERY hard. Everyone’s dovetails turned out great, and even the few gaps were wedged to look seamless.

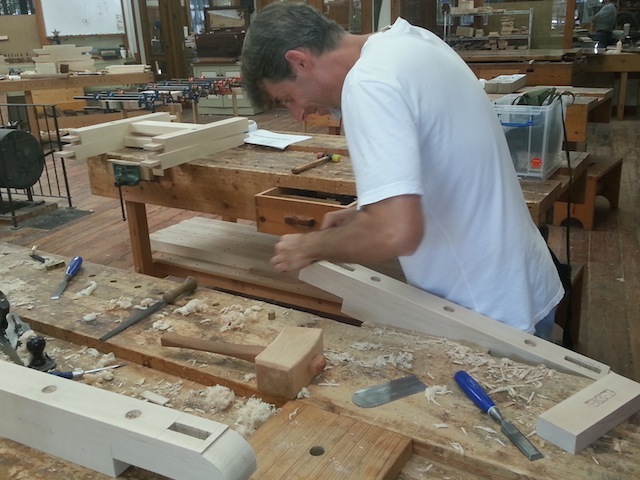
On to installing vises . . . . 3 benches got the Benchcrafted tail vise. I can’t say enough good about those tail vises. I know they’re a lot of money, but they are worth every penny. Also they really are a breeze to install compared to some others out there.
On the bench I built along with the class, I put one of our shop-built tail vises. It is a bit of work to build and install, but you can’t beat the price. A quick trip to the junkyard and 15 dollars later I had enough scrap aluminum for the main frame. A vise screw from Lee Valley works great as the main screw with some slight modification. For those that don’t mind doing a little metal work, this might be just the ticket for you.

We were able to find some good used Record no. 53 quick release vises for the front, which worked out great. As you may know Record does not make these vises anymore, and they can only be found on the used market, sometimes drawing a lot more money than they used to cost new. For those that can’t get the Record vise, I am really pleased with the Jorgenson quick release vise. I have a great place to get them, and you really can’t beat the price—Tools-plus has a great deal on the 10” vise.
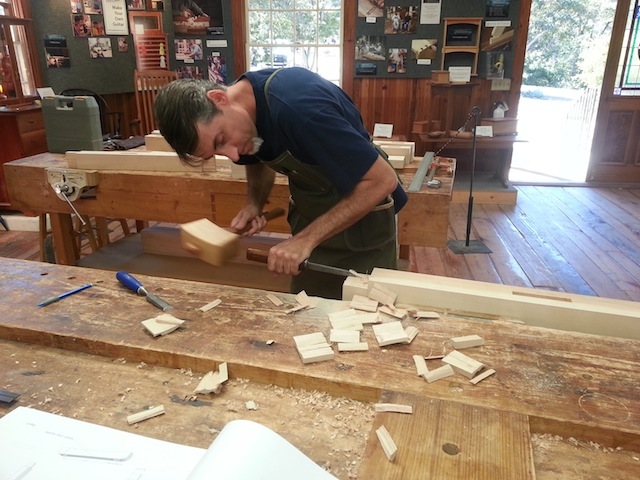
One of the students asked if I would carve his and his wife’s name in the bench. Maple is not the easiest wood to carve, but I was pleased with how it turned out.

We make this exact bench to sell, so if you don’t have the time to come take a class, just drop us a line and we can make one of these benches for you.
If you want to come take a class, the next one is scheduled for 2013. Click here for the next WORKBENCH CLASS.
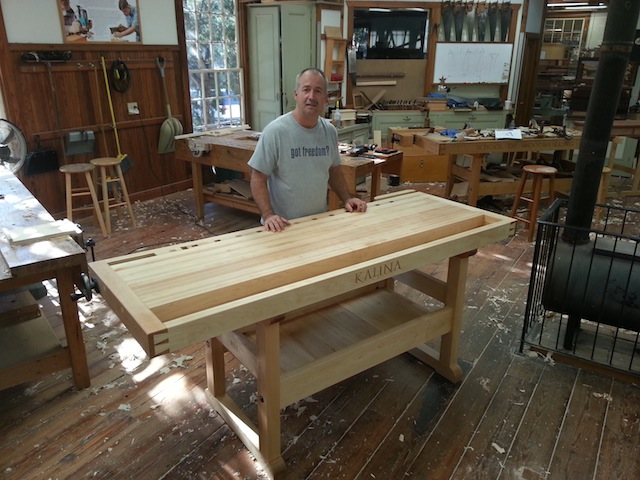
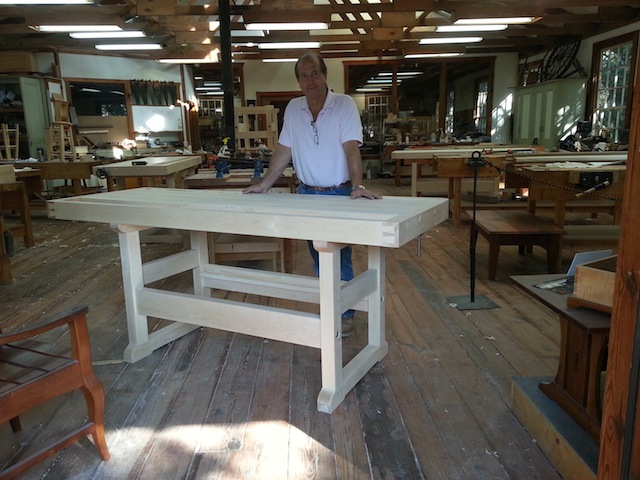
Below are a few pictures of the process including some happy students with their finished benches!
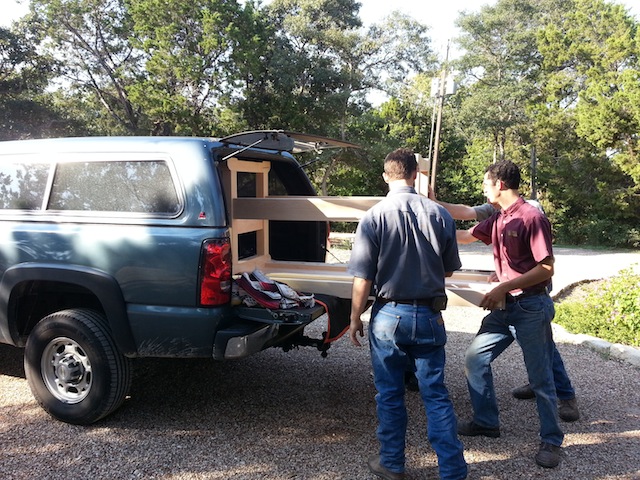


Frank these benches are beautiful!!! Truly a functional work of art, my hats off. Hopefully some day I will load one in my vehicle!!
p.s. you may want to update the story with the cost of the bench if you buy it complete, or you may not.
I was a student of this class. I just recently completed the Six Day Joinery Class because I wanted to build my own workbench. I must say I was a bit intimidated about taking on such a LARGE project, but Frank, Mark, Tim and Blake were so helpful. I must say I learned so much. Mostly, when you work with Hard Maple, you learn how to keep your chisels and planes sharp! The Greatest experience ever! I also have to mention the Staff at the Homestead Cafe are the nicest ever. Food is always wonderful. Loved those afternoon homemade Ice Cream breaks!
Thanks again for a wonderful 10 day Journey!
Bill Kalina
Wow, Frank — these benches look fantastic! Congratulations to everyone in the class — you couldn’t buy a better bench! And a tip of the hat to your hard working crew who must have spent a huge amount of time milling up all that wood!
Beautiful! Absolutely beautiful! Using a mortising chisel to cut tenons? Musta really been some hard wood! Nice class Frank, Mark, and Jonathan! Well done! This has been my favorite report! Another well designed class. Keep ’em coming!
WOW these are so beautiful! Exquisite work by all of you! Please continue to create such art and share it with our craving eyes :)))))
Those benches are awesome. They look almost to nice to use.