The last step to completing the dresser is to attach the top. Normally I simply attach it with fasteners through the dovetailed rails that I wrote about in a previous post. However, I have had tapered sliding dovetails burning on my mind. I just got through writing an article for Popular Woodworking on how to cut tapered sliding dovetails. I did not know how much work it was to write an article, especially when they give you a specific word limit to write the entire article in.
While I was at the Woodworking Show in Conroe I was discussing the dresser with an attendee and he asked how I was going to attach the top. In fact, he said, “Are you going to use sliding dovetails?” I thought to myself, “What a great idea”. The fasteners themselves would be sufficient, but the sliding dovetail holds the top flat and allows for expansion and contraction. The problem is that I was under time constraints. Having to deliver the piece the day after I returned from the Woodworking Show posed some logistical difficulties! However, as the old saying goes, where there is a will there is a way.
I decided that I should go ahead and use the tapered sliding dovetails and so I went in the shop early in the morning on the day I was to deliver the piece and started cutting into the underneath of the finished dresser top! (Some may say I was crazy!)
I actually started by creating two tapered tail boards with a sliding dovetail plane.
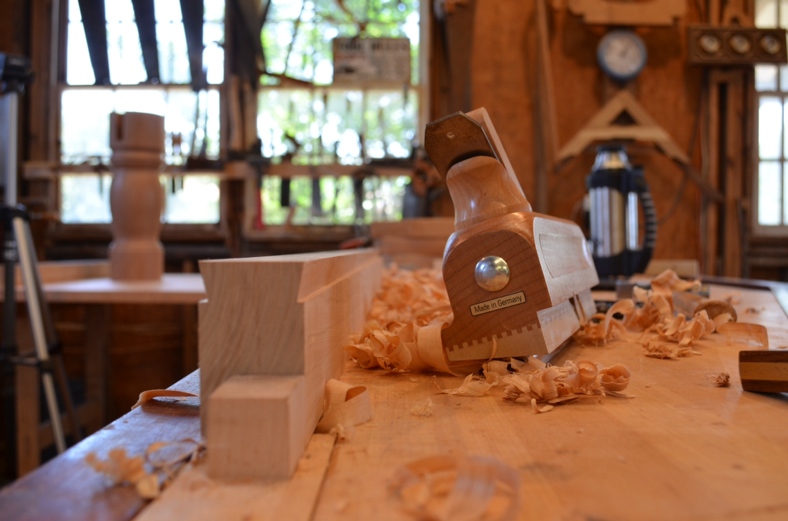
Tapered tail and sliding dovetail plane
I then transferred these pieces to the underneath of the top and knifed in a shoulder. Using my new crosscut saw made the task of cutting the tapered cuts in the top easy to accomplish.
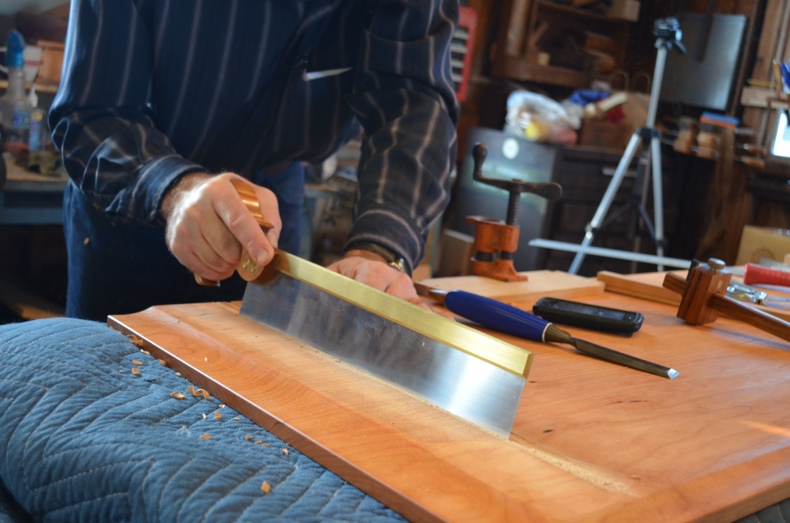
Sawing the tapered angled dovetails
I removed the bulk of the material with a chisel and then cleaned it up with a router plane.
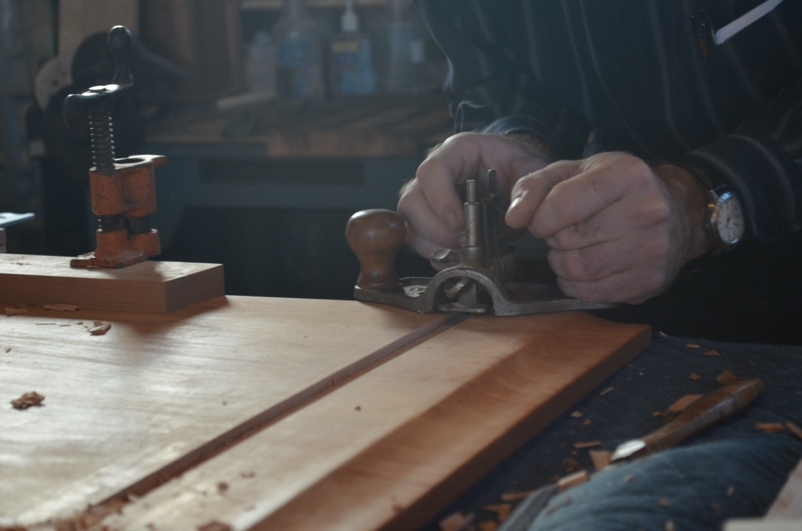
Cordless routers are safer and quieter!
After fitting the long tails to their respective tapered slots in the top, I glued and screwed them to the top of the dresser case. Here is the top in upright position showing the slots on the underneath side, as well as the attached tails to the case.
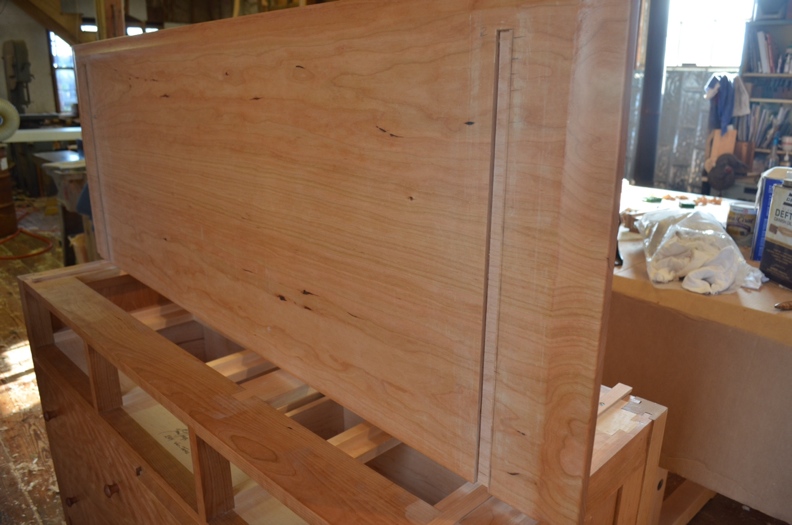
Top showing long dovetailed slots
Hammering the top home, ready to blanket wrap for delivery!
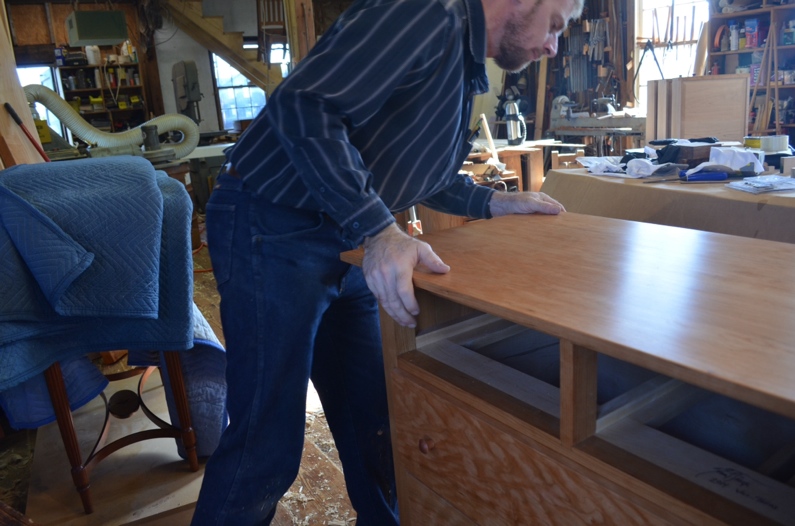
Final Fitting!
I don’t know how, but I was able to accomplish all the above on a finished piece of furniture in just about 2 hours, then it was loading it up and driving 4 hours to Kerrville, Texas!
Now I told you all that I was not going to enter the Texas Furniture Makers Show, but I spoke with the customer of the dresser and they agreed to allow me to enter it in the show, for which I was grateful.
Tomorrow is the awards ceremony in Kerrville Texas where there are about 60 pieces of the finest furniture on display. If you get a chance to get down to the Show, it will be well worth your time. The show will be open for the rest of the month.
Visit the Kerr Arts and Cultural Center website (where the show is held) for more information.
Frank Strazza
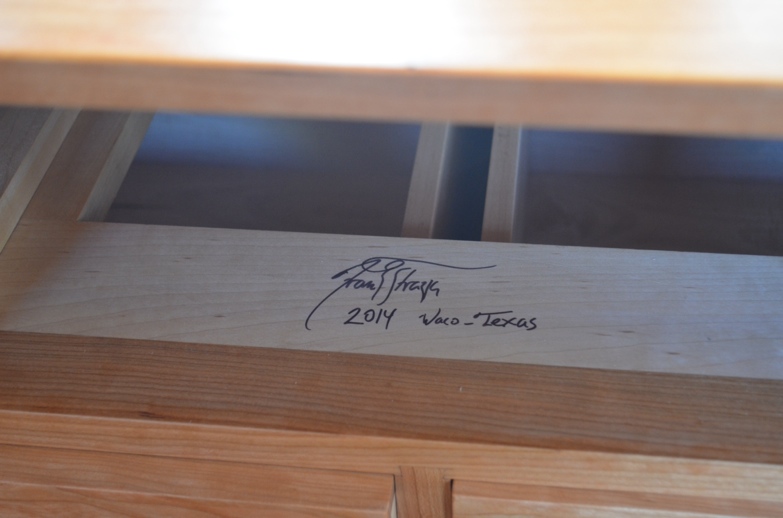
Good Luck at the show!
I plan to get out there this weekend and see your work.
Thank you Bill, There is sure a lot of very nice pieces at the show this year. I think you will enjoy seeing all of them. Plus Jim has a very nice tool collection that is worth seeing. You might call the center to see when his collection is open for viewing.
Frank, did you rip the tails and glue them down to the existing frame or did you screw them into the side of the frame or both. If you hadn’t used the sliding dovetail how would you have attached the top?
Hi Mike,
I created the tapered tails and then ripped them off and glued and screwed them to the frame. I did also use screws to attach the top. I could have gone with screws alone but I felt like the dovetail would aid in keeping the top flat. However, I have been successful with using screws alone.
Hope that helps!
Frank